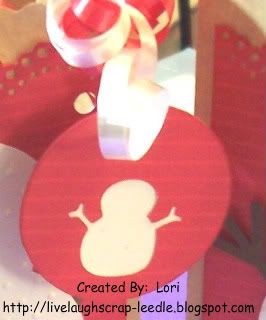
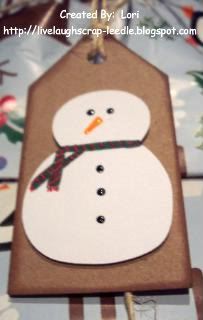
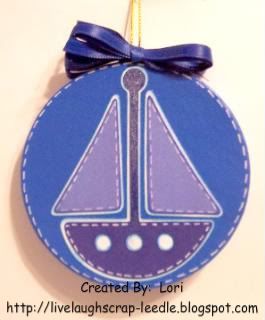
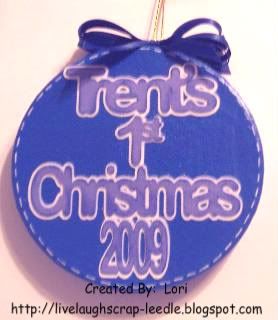
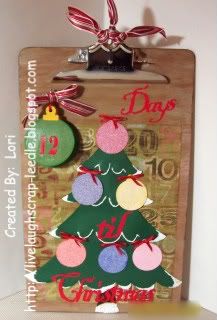
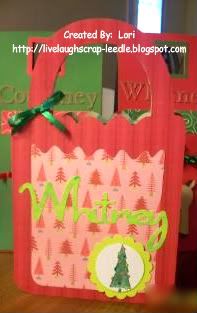
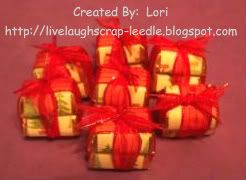
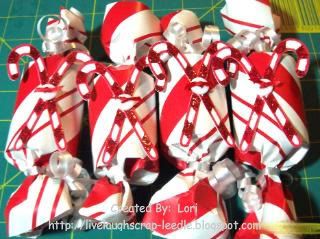
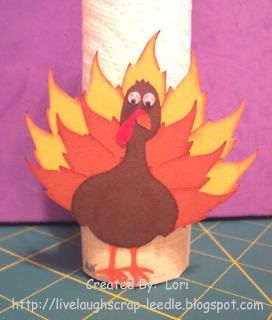
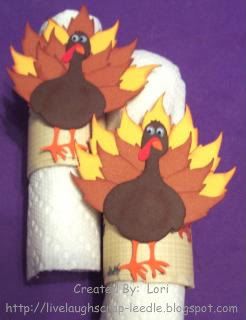
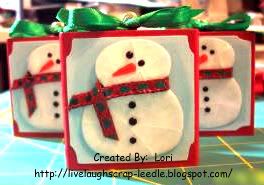
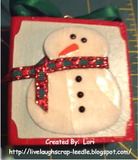
Ok so this is the 5
th element of my daughter's party favors.
Details:
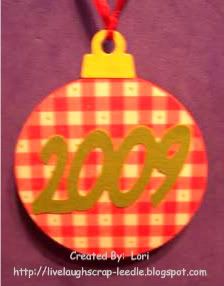
Joys of the Season cart for the ornament.
Mini Monograms for the scallop circle.
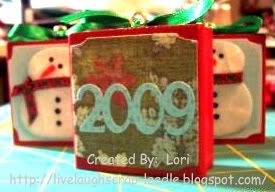
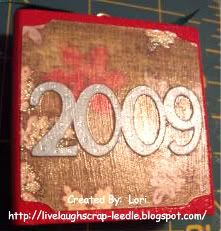
Opposites Attract &
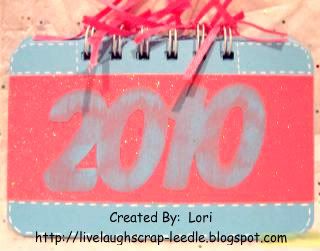
CDS for the 2009.
Mod
PodgeDiamond Dust - *See note at end of post!
Ink pads
Adhesive you choice.
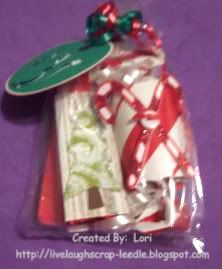
For each ornament & cut it & the hanger piece out twice. Once regular & the other flipped. I adhered the 2 wrong sides together.
I inked around all edges & adhered the scallop circle to the front side of the ornament. I adhered the 2009 the the reverse side of the ornament.
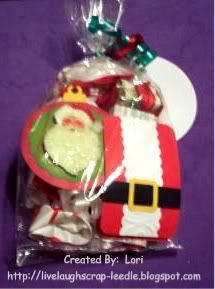
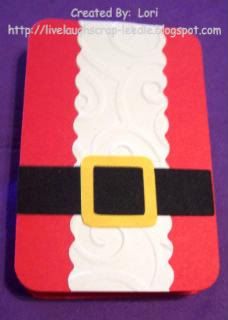
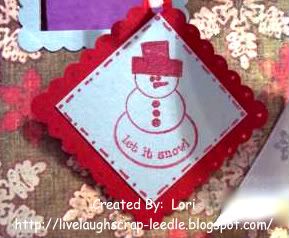
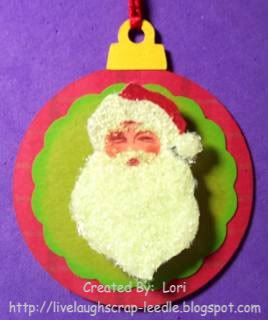
Santa:
He was on some printed
cardstock. I cut him out with my Tim
Holtz scissors. I have to tell you, I Love These Scissors!!!!!!
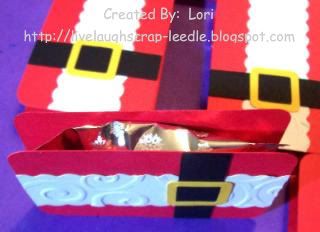
Just on the white parts of Santa - I painted on some Mod
Podge on then covered with the Diamond Dust. Then just on the Pom Pom & Santa's beard I added another layer of Mod
Podge & Diamond Dust. Let dry. You can tell when it is getting dry b/c it turns more clear than white.
Now after all of that is dry:
I did this b/c I was giving this to kids & the experience I had with the Diamond Dust. I painted a coat of GLOSSY Mod
Podge over the entire Santa, coating the Diamond Dust very well.
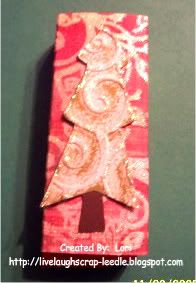
Reverse Side:
*Note: Just clean up this very well before moving about you house. I stepped on a
piece of it & it was like having a little shard
of glass in my foot. It came out easily, but very hard to see. Also didn't feel too good -
LOL. This is the reason for adding a top coat of Mod
Podge to keep any
little pieces from falling off. And it gave a hard coat finish.
Thanks for looking. Questions & comments are always welcomed.
Lori