Here a a couple of cards that I've made in an attempt to have them on hand or for inventory. I found these packs of 8 cards & envies (5x5) for $1. I thought they would make great bases for some
note cards. Just have to remember - these need to be handed out or pay extra postage for square cards.
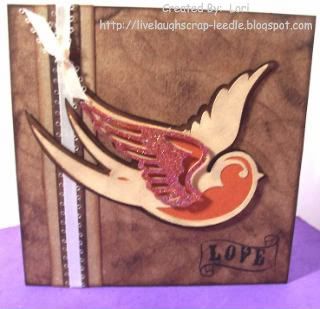
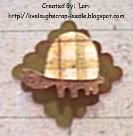
Indie Art Bird:
Details:
5x5 base
cardstock inked and texture given with
inkpad all over the surface, same done for the
cardstock strips.
Cheater method for the ribbon.
Stamp: Recollections - Mark My Heart Set
Bird: Indie Art
Cricut Cart.
Lighter layer was sanded, lightly inked & sanded again to give texture. Adhered to the orange layer. Pop dotted to the darker base layer.
Wing - Used
Versamark & transparent kaleidoscope (
iridescent) embossing powder & heat embossed twice. Pop dotted on top of the bird.
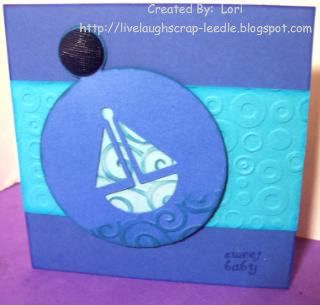
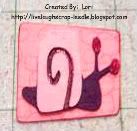
New Arrival Boat:
Details:
5x5 base inked around edges
Strip -
Cuttlebug using Spots & Dots Embossing Folder.
Using
Cricut Design Studio and the New Arrivals Cart., I placed the circle with the boat cut out over the tag. I did "hide contour" for the circle so that the boar would cut out of the tag. Then, used the circle w/ boat again hiding the boat so that only the circle would cut.
Cuttlebug using the
Devine Swirls Embossing Folder on the bottom of the tag (water) and on the circle. Inked over the embossing. Layered these pieces.
Adhered to card base & added a misc. button.
Stamp: My Pink Stamper Stamps - Everyday Occasions
Thanks for looking. Questions & comments are always welcomed.
Lori