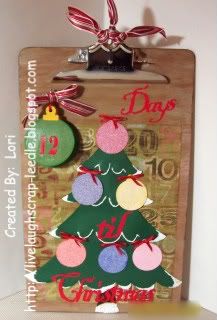
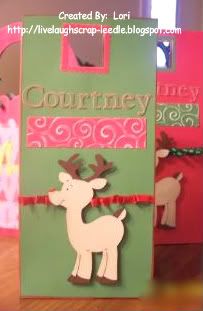
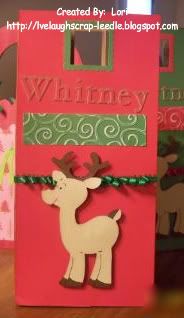
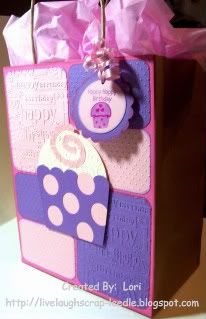
My mom & dad's neighbor asked me to make 2 gift bags for each of his daughters. All he wanted was for them to have a Christmas theme and to have their names on them.
These first 2 were made using
Okieladybug's idea. You can check out her video
HERE.
Details:
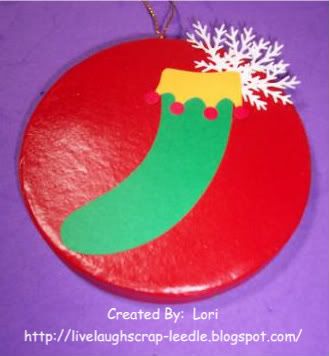
A regular brown paper lunch bag
Plantin Schoolbook Cart for the letters
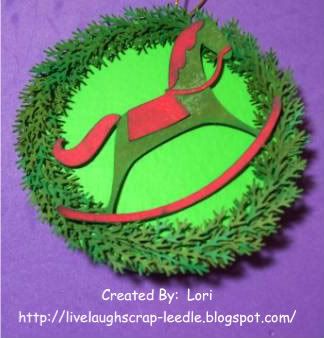
Paper Doll Dress Up Cart for the reindeer
Cuttlebug & the Divine Swirls Embossing Folder
Misc. Ribbon
2" square punch & 21/2" scallop square punch to make the handles
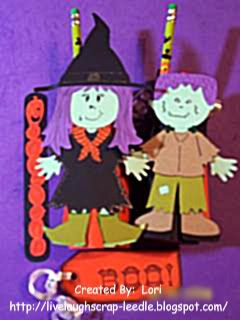
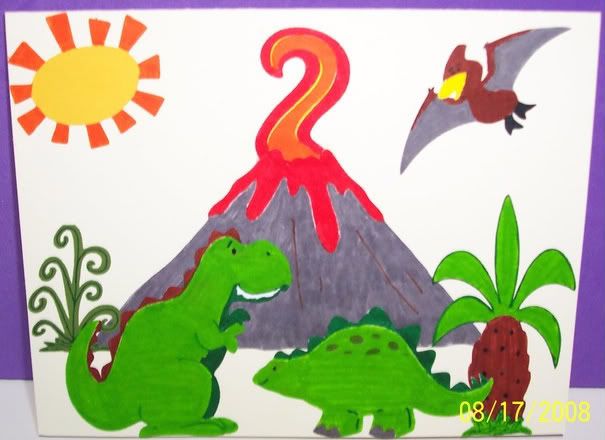
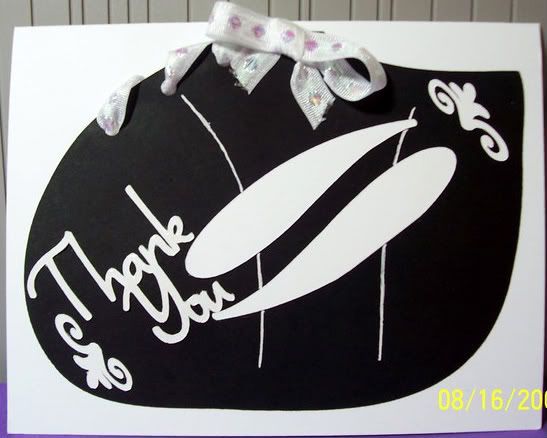
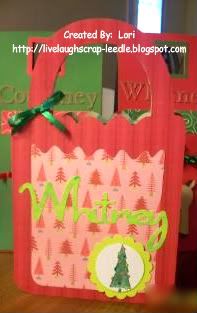
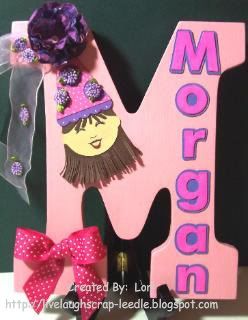
For these next 2, I used an idea that I found on the
Cricut MB from
TammaraCarr. You can see her project
HERE. thank You Tammara for this wonderful idea. Here is my take on your idea.
Details:
A regular brown paper lunch bag (You have to cut some off the top of the bag so that it does not
show over the DC bag cut.)
Doodlecharms Cart for the
giftbag and layer (When you cut one for the backside - flip the image so that they match up evenly.)
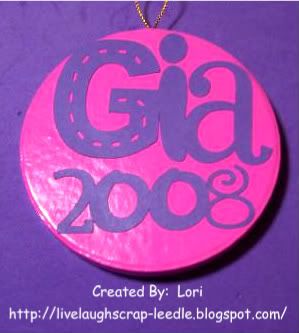
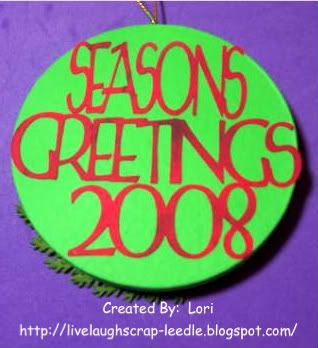
Opposites Attract Cart for the names
Mini Monograms Cart for the
circle & scallop circle
Studio G $1 Stamps
colored in with markers
Misc. ribbon (I made the bows using my
Cricut Cut Bow Easy.)

Thanks for looking. Questions & comments are always welcomed.
Lori

 Details: