Followers, Guestbook, & Comments

My followers are being shown in the right column. My Guestbook is at the bottom. Please follow, comment on posts, & sign my guest book. Your comments encourage me to keep sharing my work. I love hearing from you all.

When you leave a comment, I have to moderate it before it will be posted. So if you have a questions or comments, feel free to ask & if necessary note that you don't want your comment posted.
Showing posts with label TBBM. Show all posts

Monday, June 28, 2010

Embossed Tag

I made this tag for the Embossed Tags Challenge at the Cuttlebug Spot.
Details:
Cartridges Used:  Tags, Bags, Boxes & More (Tag), Celebrations (Gift), George & Basic Shapes & Accent Essentials (Mini Faux Prima Roses)
Cuttlebug using Fiskars Texture Plates (Lace)
Heat embossed the gift using UTEE.
Thanks for looking. Questions & comments are always welcomed. Lori

Flower Tag

I made this tag for Practical Scrappers Flower Challenge. I didn't have time to post it in time for the deadline, cut I still wanted to show it.
I cut the tag from the Tags, Bags, Boxes & More Cartridge. I cut it twice for a little extra stability. I also add the back layer to my tags after all of the inking, edging, & decorating is done for a cleaner look on the back of the tag. I used a stamp set (Love) that I picked up at Wal-Mart & stamped it with acrylic paint, the same paint that I used to edge the tag. I used another stamp set for the flowered background & stamped it with distress ink. I built the flower with bridal flower petals, painted them w/ acrylic paint & homemade glimmer mist. Then I added other misc. flower pieces that I also used homemade glimmer mist on. I made a hat pin & added that to the flower. Added fiber & ta da!!

Thanks for looking. Questions & comments are always welcomed. Lori

Thursday, May 6, 2010

Happy Mother's Day - Flower Pot Slider

I started out making this as a shape card w/ the flowers sliding out. I had made a cupcake slider (on a base) & I liked this for the flowerpot too. I find that it helps me to keep from putting the flowers up too high, (I want it to fit into a regular envie.) & this keeps them within the correct frame.
These 2 cards are for my mom & grandmother. I am also entering this into Tracy's (Craft Junkie Too) Mother's Day Post and Cuttlebug Spot Challenge #4. So click on over HERE to check out every one's projects.
Details:
Gypsy to design & cut w/ Cricut
Flowerpot is from Walk In My Garden (blackout, welded at the bottom & edges glued) Flowerpot pieces were also cut in patterned paper & layered to the front of the blackout pot. The rim was embossed using the Cuttlebug & Floral Screen & Paisley folders.
Tag was cut using the Tags, Bags, Boxes, & More cart.
The slider & base were cut from George & Basic Shapes cart.
Flowers are from Sweet Treats, Accent Essentials, & Forever Young carts. They were made using the wet & scrunch method. I then painted them with a mixture of Pearl Ex, Gum Arabic, & water.
Inked all edges & embossed pieces before assembling. Added tag with ribbon tied around one of the flowers.
.gypsy File
Thanks for looking. Questions & comments are always welcomed. Lori

Monday, October 19, 2009

Halloween Party Favors

These are the Halloween Party Favors that I made for my daughter's class. I covered toilet paper rolls with either orange or black cardstock. The I attached the Paper Doll Witches & Frankensteins to them. I cut out circles and attached them to the bottoms of the rolls with Zip Dry Glue (This stuff made an excellent bottom - holds great even when filled.)

I filled them with Skittles, Starbursts, Halloween Kaleidoscopes, Halloween Pencils, and Halloween Bookmarks.

Details:
Dolls are all Paper Doll Dress Up Cart.
Faces are Peachy Keen Stamps & hand doodled.
I used markers & gel pens to hand embellish the dolls & clothing.
Bookmarks: Base is from the Tags Bags Boxes & More Cart. The stacked pumpkins are from the Stretch Your Imagination Cart. I cut off the feet, arms, & scarf.
Tag is from the Plantin Schoolbook Cart. "BOO" is stamped from a Martha Stewart Halloween stamp set that I got on clearance at M's last year. I also edged with a black stamp pad


Standing & wrapped in Cello bags.
Thanks for looking. Questions & comments are always welcomed.
Lori

Thursday, July 2, 2009

Dylan's 13 YO Card/Envie

This card/Envie was for my son's best friend. I was having a hard time coming up with an idea of what to do. Masculine cards are hard enough, but for a 13 YO boy - geez. I was stressing. I want to thank VickiPowell1 from the Cricut MB again. She gave me some wonderful ideas & this is what I came up with.

I cut the All in One Envie from the Tags, Bags, Boxes, & More Cart. Decorated it with Indie Art Guitar & Stars. The font used was from Opposites Attract. The Tag inside was from Plantin Schoolbook.
Front:

Back:

Inside:
Thanks for looking. Questions & comments are always welcomed.
Lori
A Proud member of The Lime Light. Click on over to see what we are doing.

Thursday, April 16, 2009

Easter Baskets for Family Kids

Finally, here are the other Easter Baskets that I made.
I used Tags, Bags, Boxes, & More to cut the Nut Cup (fit to page on a 12x12 page). I was able to get 2 nut cups out of 1 sheet.
I used Mini Monograms for the scallops (circles & squares) & the regular circles & squares.
For the boys' baskets I just cut a strip of cardstock & punches a hole with my CAD. I attached the handle with brads.
For the girls' baskets i did the same except that I layered 2 strips of paper together. I also used wither the Threading Waters Border Punch or the Doily Border Punch. I also attached these with brads after punching the holes w. my CAD.
Close ups of the decorations on the front of the baskets. For the doodle dots, I used Metallic blue & purple Gel Writer Pens (the 100 pack from Sam's).
Thanks for looking. Questions & comments are always welcomed.
Lori
A Proud member of The Lime Light. Click on over to see what we are doing.

Thursday, October 9, 2008

Halloween Treats


I made these treats for my daughter's Halloween party at school. Each child (11) will get a spider pencil, a boo/ghost bookmark, & a pumpkin/ghost cakebox necklace filled with a halloween marshmallow (pre-wrapped) candy. Each cakebox was sponged with a cottonball & black Staz On ink. They all have a ghost on one side & a pumkin on the other. On the bookmarks, I used the Cuttlebug with the Spots & Dots folder. I wanted to do that on just the base, but I forgot to. I did one after the entire thing was made & my DD loved it, so I did them all.
I have to look up all of the details & will post later.
Thanks for looking. All comments & questions welcomed.
Lori
A Proud member of The Lime Light. Click on over to see what we are doing.


Monday, August 25, 2008

Popcorn Box


I made this popcorn box for my nephew's birthday present. I gave him a gift certificate for the movie & it looked like a bucket of popcorn & was scratch & sniff. It smelled just like buttered popcorn. So I thought this would be perfect. I got the idea to use the ice cream cut from DC from Kim S. (2bzboyz) on the Cricut MB. She made a LO with popcorn on it.
Details:
CDS, TBBM - popcorn box, DC - (popcorn) ice cream
Cut the Popcorn box @ 5 1/2"
Cut the big pieces of popcorn @ 2 1/2" blackout yellow & regular white.
Cut the smaller pieces of popcorn @ 1 1/2" blackout yellow & regular white.
Layered the popcorn pieces. Edged around the pieces w/ yellow LePlume II markers. Colored in the popcorn w/ 2 shades of yellow chalk.
Thanks for looking. Comments & questions welcomed.

Thursday, August 14, 2008

Welcome Back to School

I have been trying to get this finished for my daughter's first day of school. I made it, just barely! She is starting a new school this year, so I wanted to makes some welcome treats for her classmates. There are only 9 children in her class including her, so I thought, "Piece of Cake, I can knock that out in no time." Well, when I started to make them, it was harder to decide what I wanted to do than it was to actually make them. But, I can't ever seem to get a project "finished". I am one that, when I think it is done, I find more that I want to add. I need to learn, when enough is enough.

Details: CDS, TBBM, DC, OA, MM, Studio G Stamp, See-D's Stamps, MCPT, Glitter Glue, Pop Dots
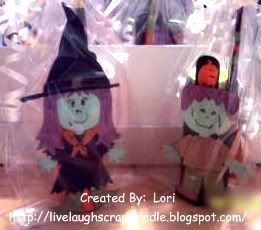
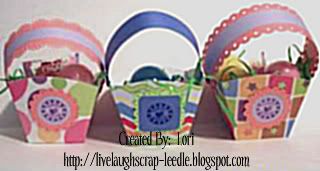
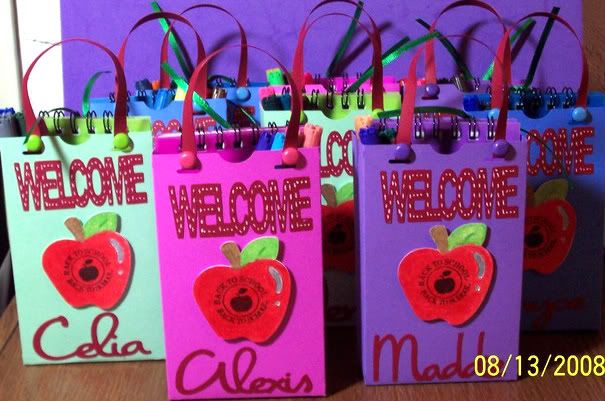
All 9 Bags:

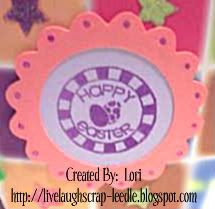
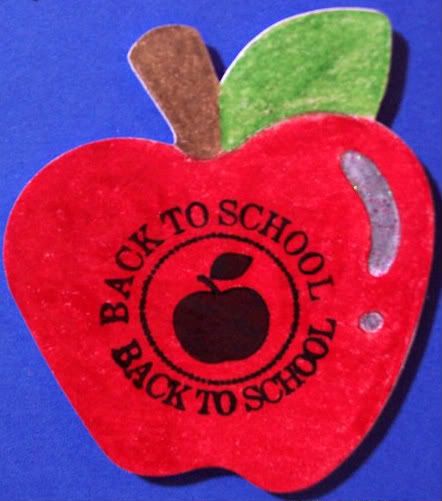
Close up of apple: MCPT & Studio G Clear Stamp (Sept. Set)
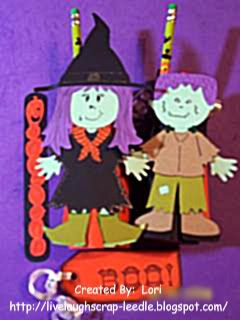
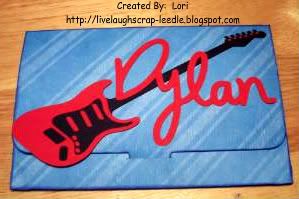
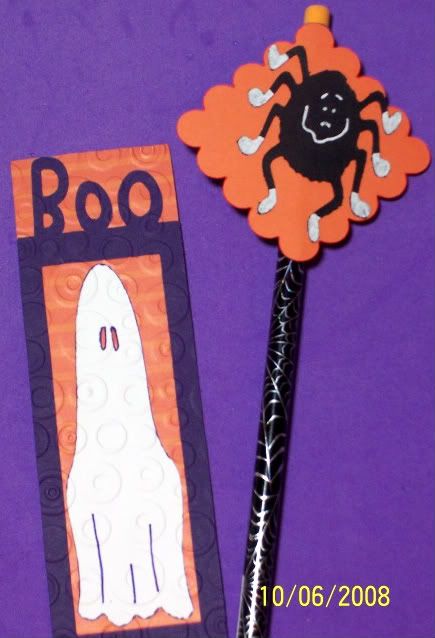
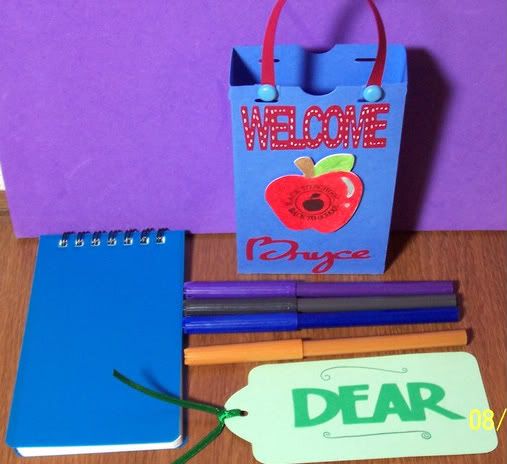
This is what each child received: Decorated Lunchbag from TBBM, Decorated Bookmark Tag from TBBM, Notepad, & 4 Markers

Thanks for looking. Questions & comments are welcomed.