Followers, Guestbook, & Comments

My followers are being shown in the right column. My Guestbook is at the bottom. Please follow, comment on posts, & sign my guest book. Your comments encourage me to keep sharing my work. I love hearing from you all.

When you leave a comment, I have to moderate it before it will be posted. So if you have a questions or comments, feel free to ask & if necessary note that you don't want your comment posted.
Showing posts with label Freezer Paper Tech.. Show all posts

Thursday, July 2, 2009

Father's Day T-Shirts & a Card

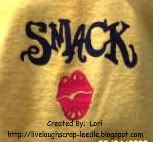
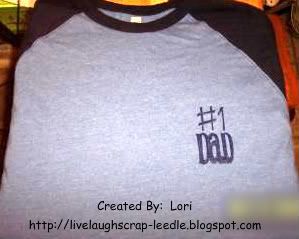
I haven't posted in a while, so the next few posts will be things that I have made recently. I don't remember all of the details of everything i used or did. But I will try to put as much information as I can. I used the Freezer Paper Technique (See This Post for a video link) for both T-shirts. This technique is so easy & fun.
This is the T-shirt that I made for my husband for Father's Day. I'm pretty sure that the DaD is from Beyond Birthdays & I think the #1 came from George.
Here is the one that i made for my dad. I can't remember which cart I got the font from on this shirt, but the image is from Cricut Sampler.
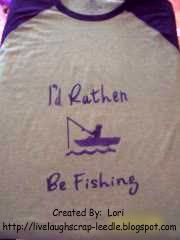
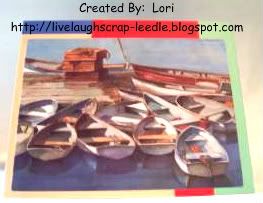
I made this card for my dad for Father's Day. My son's b-day was in May. The boat image was the front of a card that he received. I thought it fit perfectly with my dad's fishing shirt & would do a fishing card too. So I cut the front of the card off & pulled colors from it to make the card front of my card.
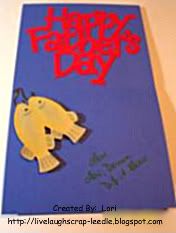
Here is the inside. The Fish & the sentiment came from the Wild Card Cart. I used markers & chalks to shade & give detail to the fish. I them gave the fish a coat of Mod Podge to give it a little shine, pop dotted the fish & done.
Thanks for looking. Questions & comments are always welcomed.
Lori
A Proud member of The Lime Light. Click on over to see what we are doing.

Monday, May 25, 2009

T-Shirts (Freezer Paper Technique)

I made these T-Shirts for my daughter & son using the Freezer Paper Technique and my Cricut. I want to thank Kut-n-Print from the Cricut MB and her daughter for the video tutorial that they made. Kut-n-Print's BLOG and VIDEO.
Details:
T-Shirts are from Michael's (Jerzee) $2 a piece
Tulip soft fabric paint
Reynold's Freezer Paper
Indie Art Cart for both designs

Choose your design & cit it out shiny side up. If you are cutting out letters or words you have to use the flip function on CDS or on the Expression.
Iron the freezer paper to the shirt shiny side down. It will seal to the shirt.
Paint with sponge brushes. Let it dry. Add another coat of paint if needed. Let it dry. Remove freezer paper & the shirt is ready to wear.
It really takes no time to do. The hardest part is waiting for the paint to dry. You can use a hair dryer to speed it up, but I do recommend waiting several hours before removing the freezer paper. I just helps the edges of the design to be a little sharper.
This is my daughter's shirt (she will be 9 in July).
This is my son's shirt (he will be 13 Thursday).
Thanks for looking. Questions & comments are always welcomed.
Lori
A Proud member of The Lime Light. Click on over to see what we are doing.