As you may or may not know I am trying to get together some inventory to do craft fairs in my area. I still want to make some projects to have on hand to sell. But, I also had a thought to make embellishments to sell also. I know I go to craft shows a lot of the time to get ideas. I'm sure I am not the only one. It's good to have our crafts for those that don't crafts. But I thought that it would be nice to have some handmade embellishments for those that do craft. I mean - we all still buy embellishments that we see & like even though we can make them. I think that is the nature of the beast we call crafting -
LOL.
So last night I sat down to make some paper flowers. This
VIDEO is what first inspired me to make
these flowers. Then Donna came out with
VIDEO 2. You really need to see both videos that are wonderful. Although I did put my spin on them. I don't have all of the materials that Donna has, so I improvised & I think I really like how they came out.
I used a roll of electrical tape and one of my rolls of sticky strip as a guide to cut the circles. I was not worried about them being perfect. I just tore the paper while holding down the rolls of tape.
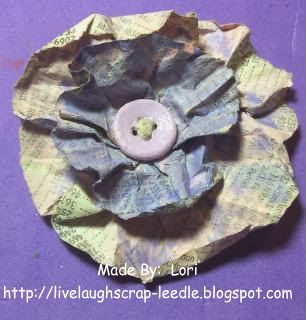
For this one, I made the flowers with the bare paper. Then (The colors are off in this pic. They are actually lt. purple & lt. pink.), I watered down some acrylic paint and just kind of splattered it on them. I used my heat gun to help dry them faster (I tend to be impatient.). I then glues them together, painted a button with the acrylic paint, threaded it with some hemp twine, and coated the button with Mod Podge & attached to the center of the flower.
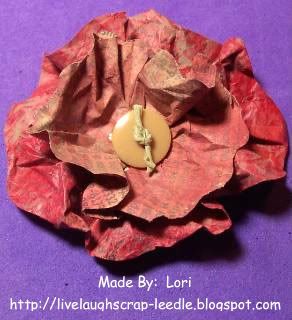
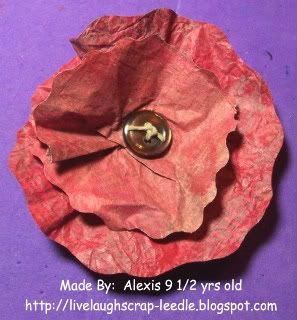
The following 2 were done a little differently & I think I like this method better. I watered down the paint, dried it, crumpled it, then went over it again with wither a lighter or darker paint color. I did this until I liked the look of the paper. Then after the circles were torn, I went around them with wavy deco edges scissors.
This one is Alexis' very first paper flower. She did hers as I showed her while making mine. Its a little more flat, but that's how she wanted it. I think she did a wonderful job for her first time trying. I actually think it looks better than my first paper flower. My first one can be seen
HERE.
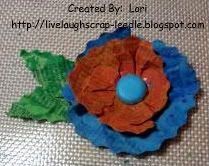
I really like the rustic look about these flowers. I am in the process of making many different colored ones. Forgot to mention, the paper I am using is old phone book pages. Way to RECYCLE, and it's FREE!!!!
Thanks for looking. Questions & comments are always welcomed.
Lori

 Thanks for looking. Questions & comments are always welcomed.