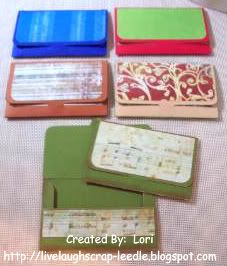
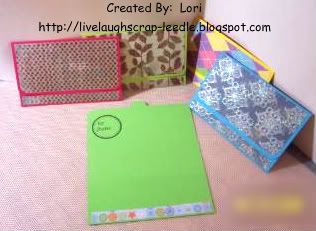
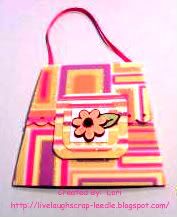
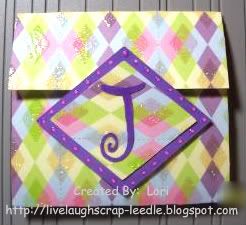
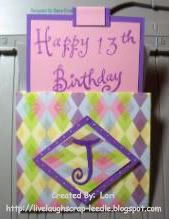
I made Sticky Note Holders in several different styles. The inspiration for all of theses came from Angie & her
Chic'n Scratch Live Videos.
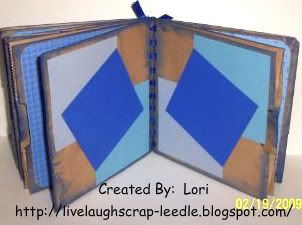
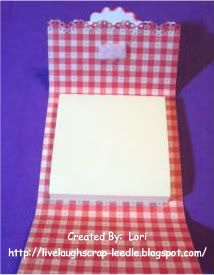
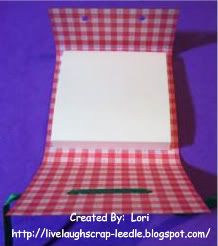
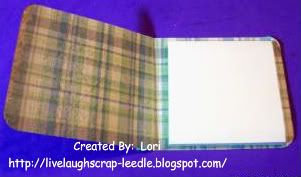
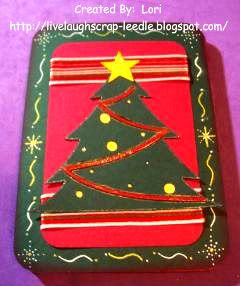
These first 2 holders are an adaptation from the
Pocket Card. I just didn't put pockets on the inside, I added sticky notes. The cardstock measurements & score line measurements are just altered to fit the sticky noted.
1st one:
Mini Monograms Cart for scallops & circle
MS Doily Border Punch
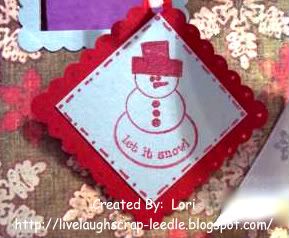
Studio G December Stamp Set
Velcro for closure
ATG
2nd one:
Mini Monograms Cart for circle & scallop
Ribbon for decoration & closure
CAD to punch holes for ribbon
Stamp- ?
ATG & Pop Dots
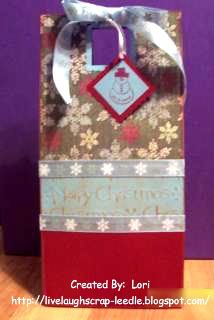
I got the inspiration for this one from
This Video of Angie's.
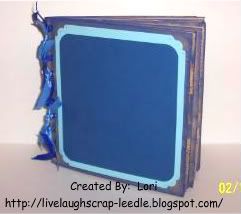
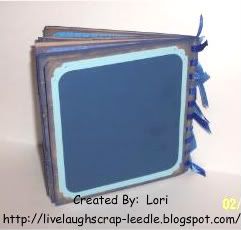
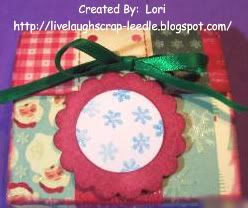
Crimper Book Style:
Fiskar's Crimper
Ribbon
ATG
Mini Monograms Cart for circle & scallop
Glossy Accents
Prima flower
Making Memories Bronze Snap
CAD to attach snap
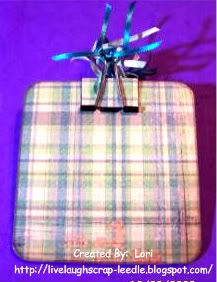
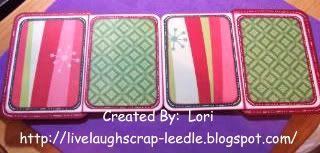
I think this one is my most favorite of all. The inspiration for this one came from
This Video of Angie's.
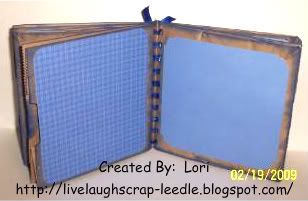
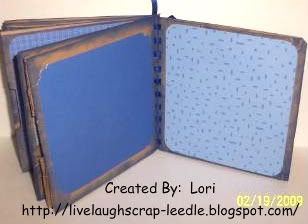
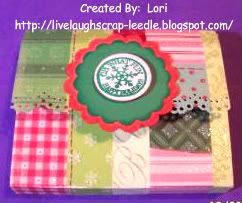
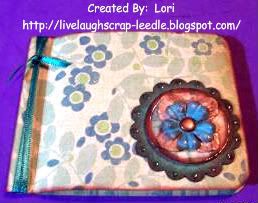
Coaster & Binder Clip Style:
4x4 140 lb. Watercolor Paper (chipboard or coaster work well too)
4x4 Patterned cardstock for both sides.
A small piece of matching cardstock to fit on the binder clip
Ribbon
Mod Podge to cover each side after printed cardstock is attached. I also put some on the edges. I think it helps to seal it a little better.
ATG
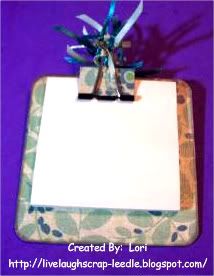
The back side. This sticky note holder can be used either way depending on the user's mood. Also the sticky notes are not stuck down, so no damage when they are finished. Just add a new pad of sticky notes.
Thanks for looking. Questions & comments are always welcomed.
Lori


 The picks don't show much of the detail very well.