Followers, Guestbook, & Comments

My followers are being shown in the right column. My Guestbook is at the bottom. Please follow, comment on posts, & sign my guest book. Your comments encourage me to keep sharing my work. I love hearing from you all.

When you leave a comment, I have to moderate it before it will be posted. So if you have a questions or comments, feel free to ask & if necessary note that you don't want your comment posted.
Showing posts with label JOTS. Show all posts

Thursday, December 31, 2009

Gift Bags & Tags

Ok, here is some of what I have been working on for Christmas. I have been very busy since before Thanksgiving trying to get everything made & finished. So in this & then next 5 posts there might not be much detail. You can always leave a comment or send me an email if you want to know something specific about what i used or how I did something. Also there are some things that I did not have a chance to take pics of, but you all will get most of it. Some still can't be shown b/c we have not done our Christmas with everyone yet. Hopefully I will be able to post the rest after this weekend.

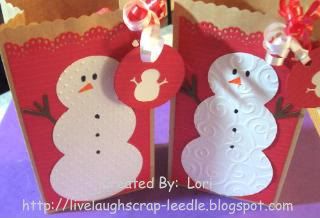
Bags that I made to put giftcards in. I thought it made a nice touch as opposed to just having the giftcard holder. They were made from very small craft paper bags.

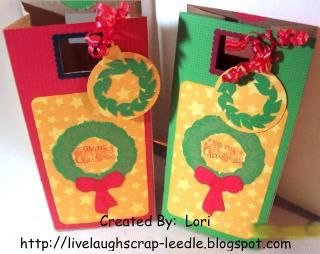
These were made from the same small craft paper bags. I made these to put the snowman ornaments that I made for some family members. You can see the Christmas Ornaments HERE.

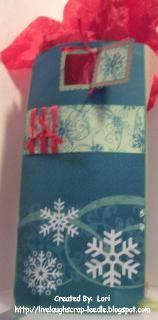
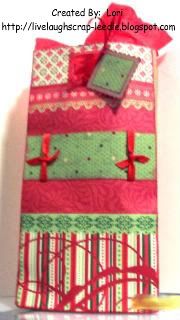
The next 3 pics are bags that I made using regular brown paper lunchbags. The first pic I made 10 of these varying a little, but basically the same design. The other 2 are one of a kind.


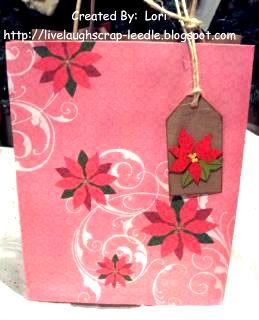
This bag was a medium sized craft paper gift bag that I decorated and made a tag for.

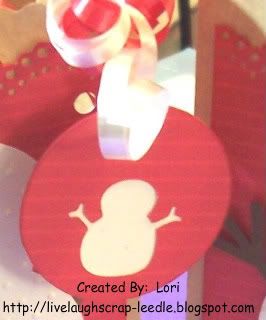
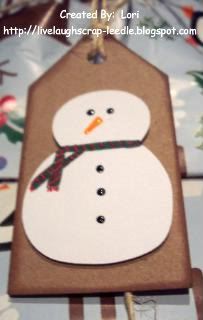
This is the gift tag that I made to put on the small snowman bags.

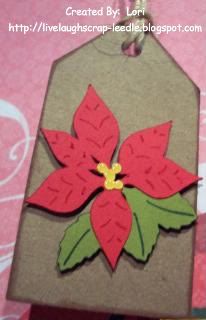
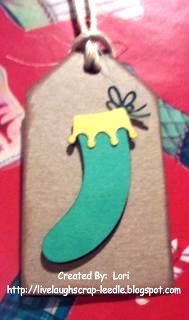
The rest of these tags were just cut from craft paper cardstock inked and embellished with a decorated Cricut cut.


Thanks for looking. Questions & comments are always welcomed.
Lori

Friday, November 20, 2009

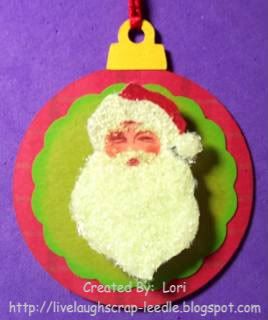
Christmas Party Favors - Part 5: Ornaments

Ok so this is the 5th element of my daughter's party favors.
Details:
Joys of the Season cart for the ornament.
Mini Monograms for the scallop circle.
Opposites Attract & CDS for the 2009.
Mod Podge
Diamond Dust - *See note at end of post!
Ink pads
Adhesive you choice.
For each ornament & cut it & the hanger piece out twice. Once regular & the other flipped. I adhered the 2 wrong sides together.
I inked around all edges & adhered the scallop circle to the front side of the ornament. I adhered the 2009 the the reverse side of the ornament.

Santa:
He was on some printed cardstock. I cut him out with my Tim Holtz scissors. I have to tell you, I Love These Scissors!!!!!!
Just on the white parts of Santa - I painted on some Mod Podge on then covered with the Diamond Dust. Then just on the Pom Pom & Santa's beard I added another layer of Mod Podge & Diamond Dust. Let dry. You can tell when it is getting dry b/c it turns more clear than white.

Now after all of that is dry:
I did this b/c I was giving this to kids & the experience I had with the Diamond Dust. I painted a coat of GLOSSY Mod Podge over the entire Santa, coating the Diamond Dust very well.
Reverse Side:
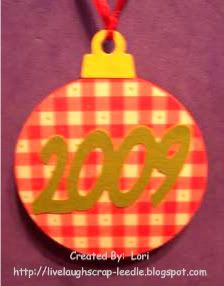
*Note: Just clean up this very well before moving about you house. I stepped on a piece of it & it was like having a little shard of glass in my foot. It came out easily, but very hard to see. Also didn't feel too good - LOL. This is the reason for adding a top coat of Mod Podge to keep any little pieces from falling off. And it gave a hard coat finish.

Thanks for looking. Questions & comments are always welcomed.
Lori

Tuesday, November 3, 2009

Christmas Rectangular Album

Again the inspiration for this album came from Angie's video for her Rectangular Coaster Album. Instead of using coasters I used 140 lb. watercolor paper & cut everything on my Cricut.

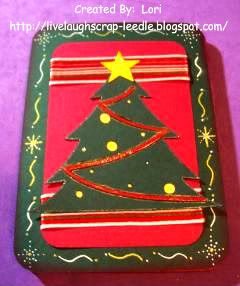
Front:

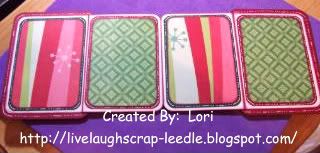
Front Inside (4 sides):

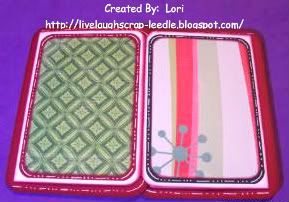
Back Inside (2 sides): Oops - I forgot some of my doodling on the sides of these pages. I will have to fix that later.

Back:

Thanks for looking. Questions & comments are always welcomed.
Lori
Sunday, July 26, 2009

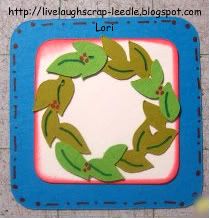
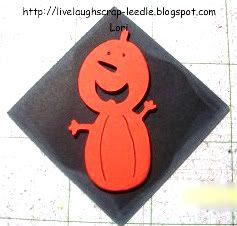
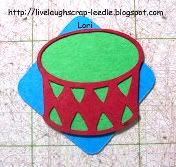
Halloween Twinchies & Inchies (Oct. 10) & Christmas Twinchies & Inchies (Nov. 30)

Twinchies:

Inchies:
These are my last Twinchies & Inchies for the Cricut MB swaps. I know they won't be my last, but they are for a little while. They are so much fun to make. I can't wait to get all of mine back & see everyone else's great work.

Thanks for looking. Questions & comments are always welcomed.
Lori
A Proud member of The Lime Light. Click on over to see what we are doing.