I made these twinchies for a swap on the Cricut MB that is hosted by KellyScott. Twinchies are handmade embellishments that are 2"x2". i enjoyed making the inchies (1"x1"), but the twinchies give a little more options to be able to work with them & decorate. We also decided that they did not just have to be square. The base could be any shape as long as it was 2"x2".
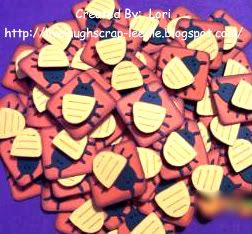
The first one I did was the dog.
My base was an octagon from the George & Basic Shapes Cart. I inked around the edges with a brown Colorbox ink pad.
I cut the dog from the Doodlecharms Cart. I cut 3 layers of the blackout shape, 2 in brown & 1 in black.
The black black out shape is the base for the top layer (tan) with a black nose (I used black Liquid Embossing over the black cardstock) & brown ears & eye spot.
I also inked around the ears on the top dog with a brown Le-Plume II marker.
I used pink chalks to blush the cheeks.
I layered all of the dog pieced with a pop-dot between them & a pop-dot between them & the base.
So this one is very dimensional.
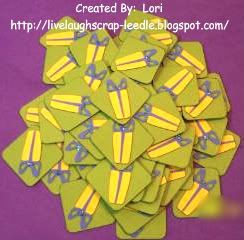
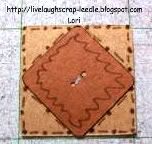
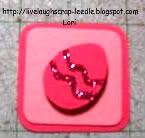
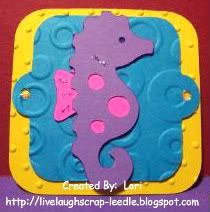
The next one is the seahorse.
My base for this one is just a square with rounded corners cut from the Mini Monograms cart. I embossed this layer in my Cuttle Bug with the Swiss Dots Folder.
The next layer is the square tag also cut from the Mini Monograms Cart. I embossed this layer in the Cuttlebug with the Spots & Dots Folder.
I thought these 2 together made it look like bubbles & was cute with the seahorse.
I cut the seahorse out of the Doodlecharms Cart. Layered them & attached to the base layers.
I inked around the seahorse & the markings with a purple LePlume II marker. I went over the marking & in the center of the tag holes with iridescent glitter glue.
I liked this one b/c it is so bright & cheery. I think it would be great for a b-day card or a vacation card or layout.
Thanks for looking. Questions & comments are always welcomed.
Lori
A Proud member of The Lime Light. Click on over to see what we are doing.

 Thanks for looking. Questions & comments are always welcomed.
 Details:
 Thanks for looking. Questions & comments are always welcomed.
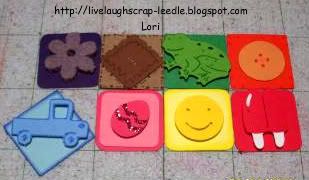


 Thanks for looking. Questions & comments are always welcomed.
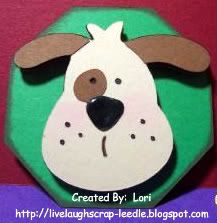
 The door hanger was another gift for Gretchen. I used Stretch Your Imagination for the frame & backing, Tear Drop for the G, and Doodlecharms for the ladybugs. Other embellishments are: ribbon for hanging, misc. flowers & Making Memories flower eyelets.
 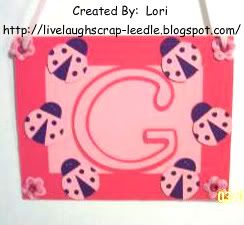 Thanks for looking. Questions and comments are always welcomed.