Followers, Guestbook, & Comments

My followers are being shown in the right column. My Guestbook is at the bottom. Please follow, comment on posts, & sign my guest book. Your comments encourage me to keep sharing my work. I love hearing from you all.

When you leave a comment, I have to moderate it before it will be posted. So if you have a questions or comments, feel free to ask & if necessary note that you don't want your comment posted.

Thursday, December 31, 2009

Altered Dome Tin & Stationary Set

This is what kept me busy most of the time. I made 4 of these in total 1 for my daughter & 1 for each of my 3 nieces. They range in age from 8 to 12. I made them all in different color & patterned paper schemes, but all were basically the same design.
Thank you Okieladybug for the .cut file to cover these tins. I don't think I could have done it with out you.
This is the tin that I made for my daughter. She was so excited b/c she knew I was making them for my nieces, but had no idea that one of them would be for her too.
Front & Top:

Top:

I-Top Brad in Prima Flowers coated in Mod Podge.

Complete Stationary Set Contents:

Flip up notepad with very brightly colored pages:

Altered RSVP pen & Altered mini composition notebook:

Calendar made with my Bind it All

First page inside of calendar, calendar & note card for note & upcoming dates:

Thanks for looking. Questions & comments are always welcomed.
Lori

Fleur-Di-Lis Glass Etched Candle Bowl

I made these for a couple of very good friends this Christmas. For those of you that don't know, I am from the New Orleans area. With the way the Saints are going this year, I think I have to get more etching cream. I already have people that have said that they want some of these without even seeing them. I think I will be making them in different sizes too.

Thanks for looking. Questions & comments are always welcomed.
Lori

Giftcard & Money Holders

I want to thank Christina from Creations With Christina for making all of her Wild Card Series Videos and for all of the measurements. I made these giftcard holders and envies and Money holders using the Wild card Cartridge. It would have taken me so much longer to get them done if Christina would not have had all of the measurements all figured out already.
Giftcard Holders & Envies:

Money Envelopes:

Thanks for looking. Questions & comments are always welcomed.
Lori

Gift Bags & Tags

Ok, here is some of what I have been working on for Christmas. I have been very busy since before Thanksgiving trying to get everything made & finished. So in this & then next 5 posts there might not be much detail. You can always leave a comment or send me an email if you want to know something specific about what i used or how I did something. Also there are some things that I did not have a chance to take pics of, but you all will get most of it. Some still can't be shown b/c we have not done our Christmas with everyone yet. Hopefully I will be able to post the rest after this weekend.

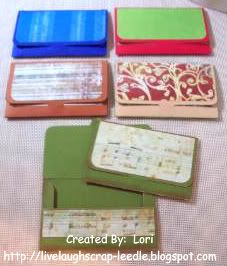
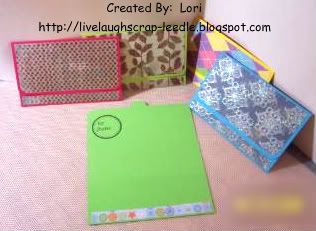
Bags that I made to put giftcards in. I thought it made a nice touch as opposed to just having the giftcard holder. They were made from very small craft paper bags.

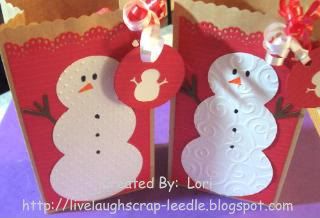
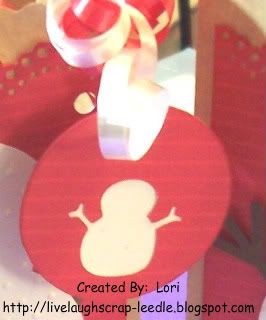
These were made from the same small craft paper bags. I made these to put the snowman ornaments that I made for some family members. You can see the Christmas Ornaments HERE.

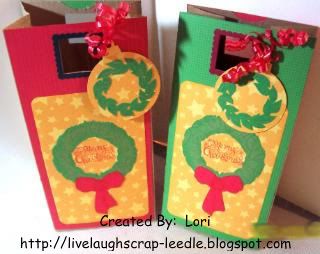
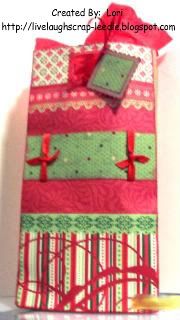
The next 3 pics are bags that I made using regular brown paper lunchbags. The first pic I made 10 of these varying a little, but basically the same design. The other 2 are one of a kind.


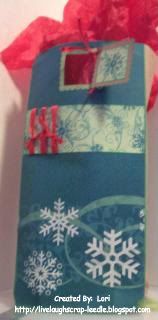
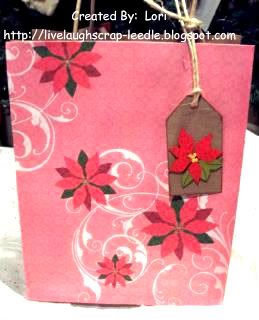
This bag was a medium sized craft paper gift bag that I decorated and made a tag for.

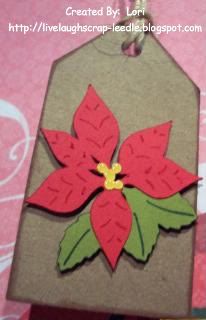
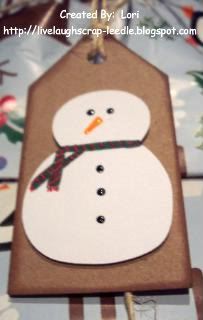
This is the gift tag that I made to put on the small snowman bags.

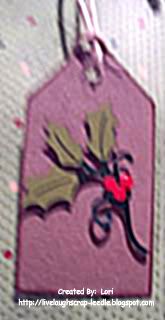
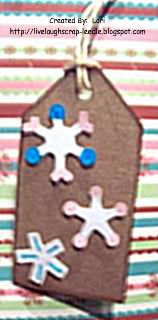
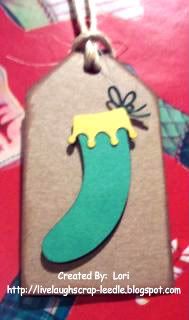
The rest of these tags were just cut from craft paper cardstock inked and embellished with a decorated Cricut cut.


Thanks for looking. Questions & comments are always welcomed.
Lori

Wednesday, December 16, 2009

Very Very Busy!!

Sorry to not have posted in a while. I am busy getting crafting done for presents this year. I have been able to show some of them. I can't wait to be able to post the rest. I am still trying to get so much finished. Has anyone figured out how to add more time to a day? LOL It seems like I don't have enough.
Thanks for looking. Questions & comments are always welcomed.
Lori

Wednesday, December 9, 2009

More Glass Etching

Here are 2 more glass etchings that I have done for Christmas. I made these with my Cricut Expression, Clear Contact Paper, Amour Etch, and designs on SCAL.

This first one is of Christmas Trees, with the design on all 4 sides. I found the .svg file at ScrappingTable under Free Shapes. If you are using SCAL, you really need to check out this site. It is really a wealth of information.

The next one is for my mom. She loves butterflies, again I put an image on all 4 sides of the bowl. I found a picture of a butterfly online & asked for someone to convert it to a .svg file for me on the SCAL MB. (I still can't get the hang of inkscape to convert files.) Thanks goes out to JO-ANNEB (Sweetness4713) on the SCAL MB for converting this file for me.


Thanks for looking. Questions & comments are always welcomed.
Lori

Tuesday, December 8, 2009

Ornament - Trent's 1st Christmas

This is the ornament that I made for my nephew (& God son) for his 1st Christmas. He will be 5 months old 3 days before Christmas. Last year when I made the ornament for his sister's first Christmas, I made it in shades of pink. So I did his in all blues.
Front:

Back:Thanks for looking. Questions & comments are always welcomed.
Lori

Christmas Countdown Clipboard - 12 Day

Well, this is one of the projects that I have been working on. I'm not sure if I'll be keeping this one or giving it as a present. This is the first clipboard I have done & my first countdown calendar too. I am also entering it into the Practical Scrappers Challenge this week Anything Christmas. Click on over to see what everyone else has made too.
Details:
Paper Doll Dress Up Cart. for the Tree
SnowTex for the snow
SCAL for the ornaments & words
Legal size clipboard

I inked the clipboard with a light brown pigment ink then went over it with a white wash (watered down white acrylic paint). I think this gave it a really nice wood grain look. I inked the edges of the paper & the board with brown pigment ink.
I then used Mod Podge over the entire board & place the printed cardstock in place. Then Used another coat of Mod Modge. The tree was also coated in Mod Podge before adhering to the board. I glittered the ornaments & sprayed with a coat of Krylon Preserve It to keep the glitter from scraping off. Then adhered the ornaments to the tree.
I used a hook that screwed into the board to hold the numbered ornaments.
Thanks for looking. Questions & comments are always welcomed.
Lori

Monday, December 7, 2009

Busy Busy Busy

Hey there! I have not bee posting much b/c I am busy getting some Christmas presents made. So plenty of what I am doing right now may have to wait to be posted after Christmas. Hopefully I may be able to get some of them posted, but right now I am just trying to get things made. The hard part is just finding to the time to be able to work at my craft table.
Thanks for looking. Questions & comments are always welcomed.
Lori