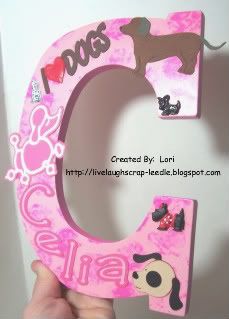
A friend of mine (one of Alexis' classmates' mom) asked me to make a wall letter for her daughter. She wanted pink and she loves dogs. So this is what it ended up like. I am happy to say that they both loved it!!
Details:
I painted the entire letter light pink. Then I painted the edges a darker shade of pink. I painted some large bubble bubble wrap with the darker pink paint, & stamped it on the front of the letter. I thought it just gave some texture & broke up all of that lighter pink. But, some people told me that the spots looked like flowers & Liz (the mom) said that some of them looked like paw prints - so that technique was a hit.
I added some dog buttons that I had in my stash.
The name & I{heart}Dogs was from SCAL. I used Triple Thick over the heart to make it dimensional and shiny.
Cricut Carts:
Animal Kingdom - Dachshund & "Spot" dog head
The dachshund was given some texture by using
Dawn's Faux Suede Technique. I colored the body w/ distress ink (Vintage Photo) & brown pigment ink. The card & tail were colored w/ distress ink (Weathered Wood)
Cricut Sampler (Paper Pups) - Poodle
The poodle was spritzed w/ homemade glimmer mist (pearl-ex macropearl)
All paper embellishment pieces & the letter was sprayed (front & back) with Krylon Preserve It.
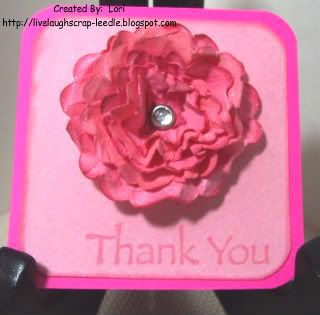
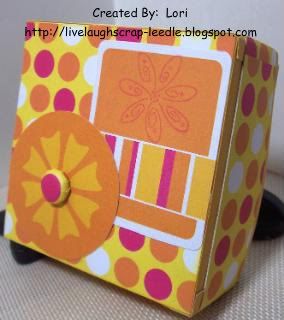
This is just a little 3x3 Thank You card that I made for them for ordering one of my letters.
Details:
3x6 cardstock folded at 3"
2 1/4 x 2x1/4 cardstock spritzed w. homemade glimmer mist (pearl-ex flamingo pink)
Mini Monograms Cricut Cart:
I cut 5 scallop circles @ real dial size 2 1/4, 2, 1 3/4, 1 1/2, & 1 1/4
I colored them with varying shades of pink with chalk ink.
I spritzed them with home made glimmer mist (pearl-ex flamingo pink & Duo Red-Blue)
Scrunched up, unfolded, added a brad to the center & formed with my fingers to my liking.
Spritzed again w/ homemade glimmer mist (pearl-ex macropearl)
Then I dried it with my heat gun.
Again - I can't remember the stamp set that the Thank You came from.
I just wish the glimmer showed up in the pics. It is really pretty in person.
Thanks for looking. Questions & comments are always welcomed.
Lori


 Heartfelt Thanks
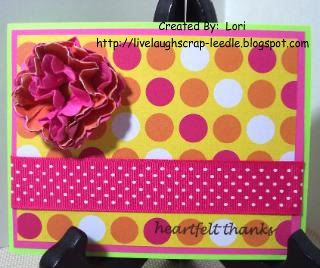 Live a little, Laugh a little, Love a lot!
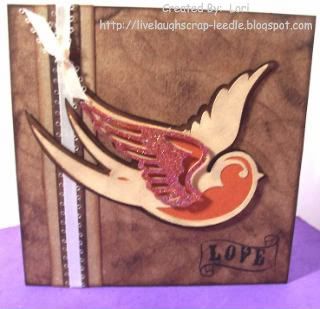
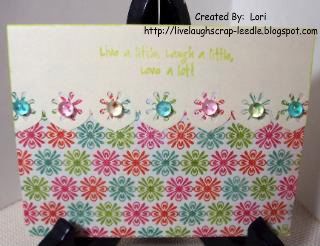 Flutter
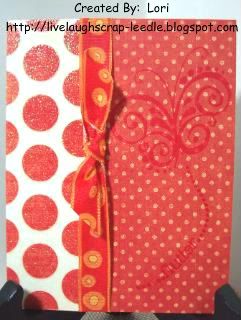 I {heart} You
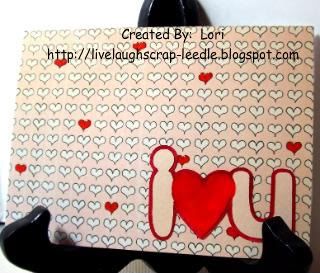 Thanks for looking. Questions & comments are always welcomed.