Followers, Guestbook, & Comments
When you leave a comment, I have to moderate it before it will be posted. So if you have a questions or comments, feel free to ask & if necessary note that you don't want your comment posted.
Tuesday, April 19, 2011
My Pink Stamper April Design Team Post
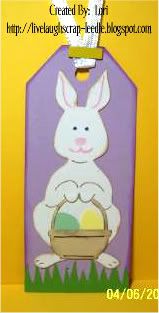
This was a very simple project, but I love how they turned out. When making favors I tend to do them fairly simple. As much as it pains me (LOL), the kids just rip them apart to get to the candy. I filled some cello bags with candy & made some really cute bag toppers.
Details:
I used my Gypsy & Cricut to design & create this project.
Create A Critter for the rabbit
My Pink Stamper Happiest Moments Set
Thanks for looking. Questions & comments are always welcomed. Lori
Friday, December 17, 2010
Glittered Snowman Ornaments & Giftbags
The way I made the faces was: For the charcoal eyes & mouth, I used black Liquid Embossing. I painted on the carrot nose with acrylic paint. Then to protect the nose & give it some shine & dimension, I added some Aleen's Paper Glaze over it.
I also used a pipe cleaner for the loop to hang it on the tree.
To glitter the inside of the ornament, I used the Pledge with Future Shine and Martha Stewart Fine Crystal Glitter. - I JUST LOVE THIS STUFF!!!!!!
I also had to make the gift bags for the ornaments. I used the 3 1/4 x6 3/4 bags from Michaels. For the snowman (I just thought that since i was giving a snowman ornament, that it was cute to use the snowman holding an ornament. - Ha Ha - I'm so easily amused!! LOL) I used the Jolly Holidays cart.
For the topper I scored a 2 x 3 1/4 piece of cardstock in half. Stamped Happy Holidays (Recollection Stamp Set: Sugar & Spice). On the back side we just wrote From: Alexis. I folded down the top inch of the bag & stapled it shut. Then adhered the topper to the folded flap of the bag.
I used my Gypsy and Cricut to design & create the gift bag part of this project.
Thanks for looking. Questions & comments are always welcomed. Lori
Monday, July 12, 2010
Alexis' 10 (Golden) Birthday Party Favors
Here is a pic of the party favors.
I made the purse using the Forever Young Cricut Cartridge The emblem & fingernail polish came from the same cartridge. The light pink oval on the emblem was run through the Cuttlebug using the Swiss Dots Embossing Folder. I added some liquid embossing on the red part of the fingernail polish bottle to make it look like glass. I picked up the little bottles of polish & lip gloss from Wal-Mart. It all fit great & they loved them.
Thanks for looking. Questions & comments are always welcomed. Lori
Thursday, April 15, 2010
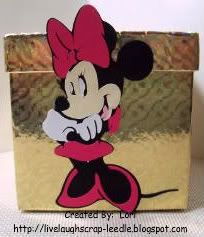
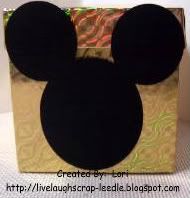
Minnie & Micky Mouse Decorated Boxes
Lori
Monday, January 11, 2010
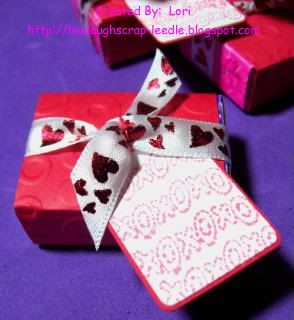
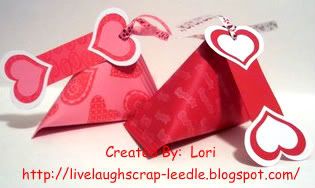
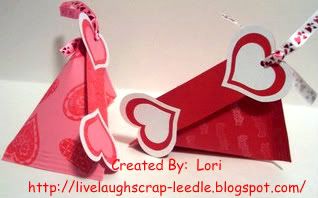
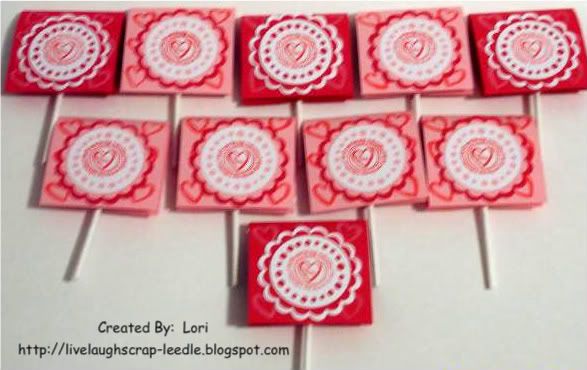
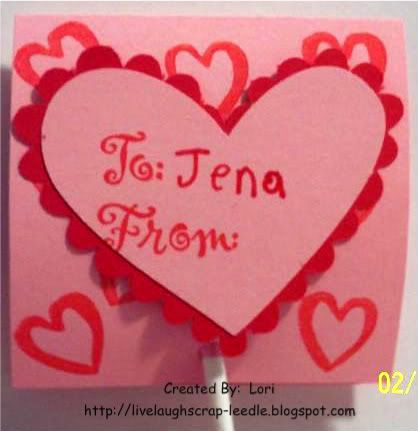
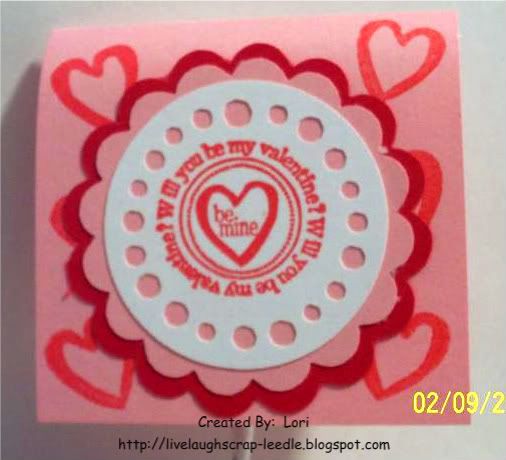
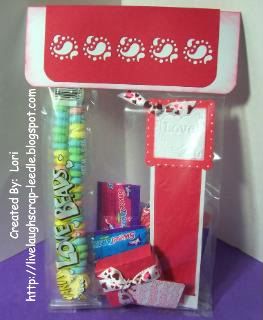
Valentines & Valentine's Party Favors
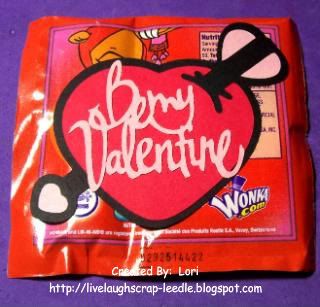
The Be My Valentine was cut from the Wild Card Cricut Cart.
Then I just adhered them to individual Valentine Lik-N-Dip Packs and wrote her name in the From space on the other side.
To see videos about it:
Tonic Border Punch System Videos parts 1 & 2
Tonic Boot Punch Videos parts 1 & 2
Tonic Border Punch System Information: Click HERE
To order or for more info, contact Cheryl Horton / Inspire Me HERE
Cheryl is a dear to work with and will answer any questions that you have.
Thanks for looking. Questions & comments are always welcomed.
Lori
Tuesday, November 24, 2009
Completed Christmas Party Favors
Friday, November 20, 2009
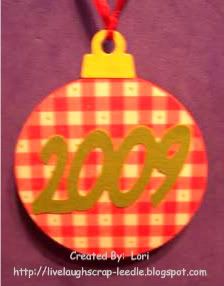
Christmas Party Favors - Part 5: Ornaments
Details:
Joys of the Season cart for the ornament.
Mini Monograms for the scallop circle.
Opposites Attract & CDS for the 2009.
Mod Podge
Diamond Dust - *See note at end of post!
Ink pads
Adhesive you choice.
For each ornament & cut it & the hanger piece out twice. Once regular & the other flipped. I adhered the 2 wrong sides together.
I inked around all edges & adhered the scallop circle to the front side of the ornament. I adhered the 2009 the the reverse side of the ornament.
Santa:
He was on some printed cardstock. I cut him out with my Tim Holtz scissors. I have to tell you, I Love These Scissors!!!!!!
Just on the white parts of Santa - I painted on some Mod Podge on then covered with the Diamond Dust. Then just on the Pom Pom & Santa's beard I added another layer of Mod Podge & Diamond Dust. Let dry. You can tell when it is getting dry b/c it turns more clear than white.
Now after all of that is dry:
I did this b/c I was giving this to kids & the experience I had with the Diamond Dust. I painted a coat of GLOSSY Mod Podge over the entire Santa, coating the Diamond Dust very well.
Reverse Side:
Lori
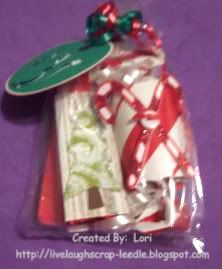
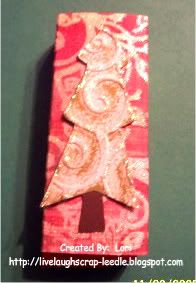
Christmas Party Favors - Part 4: Kit Kat Wrapper
Fits 2 mini Kit Kats
Doodlecharms Cart for the tree
Cuttlebug w/ Divine Swirls Embossing Folder
Snow-Tex
Opalescent Clear Glitter Glue
Terrifically Tacky Tape
Printed cardstock is cut at 5 1/8" x 3 1/2". It is scored at 1 1/8 and 1 7/8 from each end.
After cutting & adhering the tree layer to the base, I ran it through my Cuttlebug. I them stippled some Snow-Tex around the embossed areas of the tree (not being too careful, I didn't want to cover the entire tree top but I did want some texture & coverage). After that dried, I went of the edges & embossed areas of the tree top with the glitter glue. When that was dry I adhered the trees to the wrapper.
Thanks for looking. Questions & comments are always welcomed.
Lori
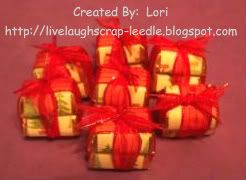
Christmas Party Favors - Part 3: Nugget Presents
The printed cardstock is cut at 1" x 3" and wrapped around each nugget. I then stacked 2 nuggets together attached with a glue dot. (This made it so much easier to tie the ribbon around them.) Wrapped with ribbon, tied a knot of top & trimmed ribbon.
Thanks for looking. Questions & comments are always welcomed.
Lori
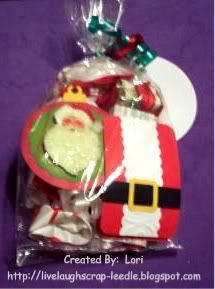
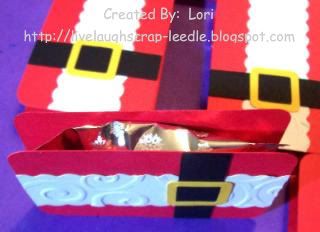
Christmas Party Favors - Part 2: Santa Peppermint Patties
Details:
George & Basic Shapes Cart
CDS
Fiskars Paper Trimmer w/ Scallop Blade
Cuttlebug w/ Divine Swirls Embossing Folder
Adhesive of choice
Standing on its side to show the sandwich.
Lori
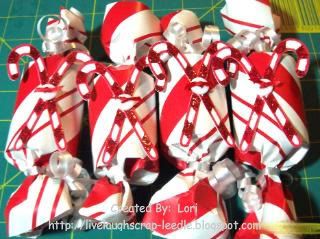
Christmas Party Favors - Part 1: Wrapped Candy
TP Rolls cut in half to make the holders.
Wrapping Paper
Curling Ribbon
Heat Gun
UTEE mixed with (red) glitter
(?) Cart for the candy canes. For the life of me I can't remember which cart these came from.
CDS - used to hide the other piece of candy from the cuts.
Buttons & Ribbon
Adhesive of choice
Wrap the TP Rolls with the wrapping paper. Tie off one end with the curling ribbon. Fill with candy, toy, or whatever will fit & tie up the other end with curling ribbon. I put in 3 small individually wrapped candy canes. Curl the ribbon.
To decorate:
On the solid parts of the red candy cane pieces I used a Versamarker, covered with UTEE & glitter mixture & set with the heat gun. Repeat until you have the coverage you like (it took me about 3 times for solid coverage).
TIP: Zig 2-way glue works well too for the 1st application of the UTEE & Glitter. Then after heating - not long, go over that with the Versamarker & UTEE combo. one more time. I found that on the 1st application with the Zig glue - more of the UTEE & glitter was adhered.
Thread the button with ribbon & tie into a knot. Trim ribbon & adhere to candy canes. Then adhere the candy canes to the wrapped candy.
Thanks for looking. Questions & comments are always welcomed.
Lori
Monday, November 16, 2009
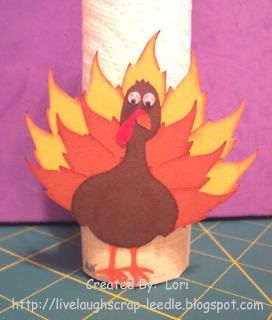
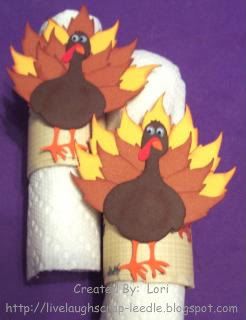
Thanksgiving Napkin Rings
This 1st pic is showing the napkin ring standing up. (the colors are better in the 2nd pic. The orange feathers are not really so orange (more like a burnt orangey brown).
Lori
Monday, October 19, 2009
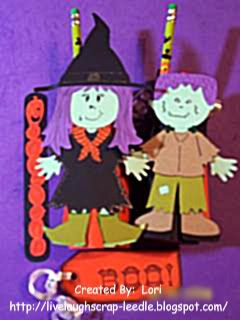
Halloween Party Favors
I filled them with Skittles, Starbursts, Halloween Kaleidoscopes, Halloween Pencils, and Halloween Bookmarks.
Details:
Dolls are all Paper Doll Dress Up Cart.
Faces are Peachy Keen Stamps & hand doodled.
I used markers & gel pens to hand embellish the dolls & clothing.
Bookmarks: Base is from the Tags Bags Boxes & More Cart. The stacked pumpkins are from the Stretch Your Imagination Cart. I cut off the feet, arms, & scarf.
Tag is from the Plantin Schoolbook Cart. "BOO" is stamped from a Martha Stewart Halloween stamp set that I got on clearance at M's last year. I also edged with a black stamp pad
Lori
Thursday, July 2, 2009
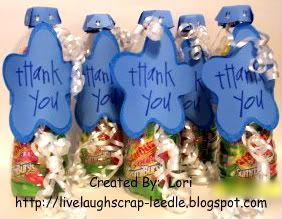
Water Bottle Party Favors
HERE is the link to her project & directions.
So I just did the same with the regular size water bottles. I thought it would be fun to see the "know-it-all" thirteen year old boys trying to get it open. And better yet trying to figure out how i got the big items in the bottle in the first place. All they wanted to do was cut it open to get the stuff out. Oh well, it was a fun way to package the favors anyway.
Lori
A Proud member of The Lime Light. Click on over to see what we are doing.
Monday, May 25, 2009
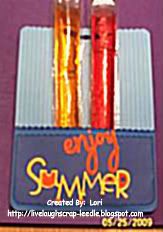
Kick Off To Summer Treats
Thanks for looking. Questions & comments are always welcomed.
Lori
A Proud member of The Lime Light. Click on over to see what we are doing.
Thursday, April 16, 2009
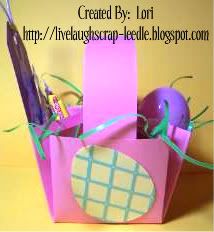
Easter Baskets for Family Kids
Lori
A Proud member of The Lime Light. Click on over to see what we are doing.
Monday, April 13, 2009
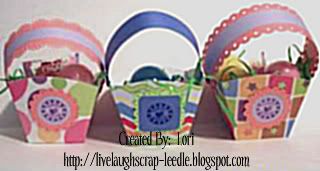
Easter Party Baskets & Bookmarks
Friday, February 13, 2009
Valentine's Party Favors
Monday, February 9, 2009
Valentines
Monday, October 27, 2008
More Halloween Party Treats
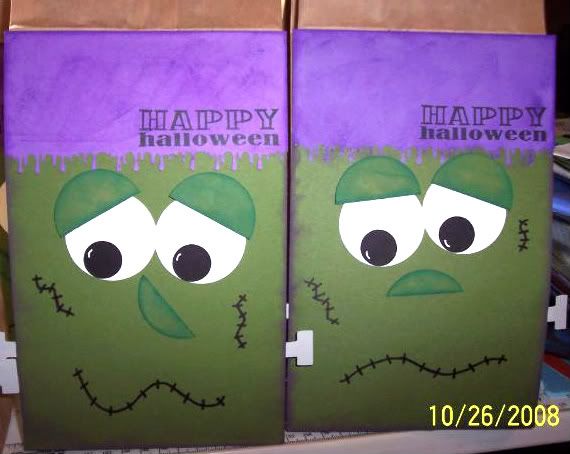
Well one of the room moms called me to ask if I could bring favors for the party. So this is what I made. I adapted this from Dawn's Frankie Card.
I just made flat faces & adhered them to a paper lunch bag & filled with candy. For the hair, instead of cutting out the jagged edge, I used the MS Drippy Goo Punch. I thought that added a little different touch. I used CDS to cut all of the circles & welded the white parts of the eyes together. I cut the circles at: white 1 3/4", green 1 3/4", & black 3/4". I used George & Basic Shapes for the circles & Opposites Attract for the bolts in his neck (T). I used my white Gelly Pen for the accents on the eyes. I inked over the hair & around the face with purple ink & with green ink around the eyelids & noses. I did the mouths & scars freehand. I also mage all of the face look a little different. The stamp is from the dollar bin at Target. Thanks for looking. Comments & questions are always welcomed.
A proud member of The Lime Light. Click on over to see what we are doing.