When I got my I-Top, I had asked on the Cricut MB if anyone had a .cut file for the different size circles to make the I-Top brads. I got no answer, not sure if no had one or if everyone that has the I-Top just bought all of the I-Top Punches. Well, I could only find 1 size punch & figured that somehow I could make or someone would have a cheaper way to make this, rather than buying all 3 punches.
So then I got the Sweet Treats Cricut Cartridge. I thought the Flower4 (Pg. 52 in the Sweet Treats Handbook) would be perfect. I could make it the right size and the way the petals were split it would work. And it did - PERFECTLY!
So this is not so much a .cut file, but a little cheat sheet in .cut file format. It's nice to have this on hand to cut 1 or as many as you need to have on hand. My file has a page for each size. I have all of the score marks hidden and each page is set up for 4 flowers. You can hide some if you want to only cut 1 or copy more to add more. If you copy them though - you will have to save, close, & re-open the file in order to hide the other score marks.
HERE is the .cut file and it will also be on the left side of my blog under My .cut Files.
And for those of you that don't have CDS, I'll list the size of the flowers that you can cut straight from your Cricut. Again, use Flower4 on pg. 52 of the Sweet Treats handbook, the blackout cut.
Small - 1 1/4
Medium - 1 3/4
Large - 2 /14
I hope this helps.
Thanks for looking. Questions & comments are always welcomed.
Lori
Showing posts with label .cut file. Show all posts
Showing posts with label .cut file. Show all posts
Friday, January 29, 2010

Tuesday, November 24, 2009
My First Mini Lunch Kit (Still Unfinished)
This lunch kit is still unfinished, but I wanted to show it just basically covered. I want to Thank Okieladybug for sharing her .cut files and video for this project HERE.
Like I said, this was my first one - so improvements are needed. But all in all, I think it came out well. I did cut out the holes for the handle & will probably wrap it with ribbon scraps. Okie's .cut files made it so much easier though. Thank You So Much!!!
 I will post again when I get it all decorated. I still have to figure out what will fill it & who will get it.
Like I said, this was my first one - so improvements are needed. But all in all, I think it came out well. I did cut out the holes for the handle & will probably wrap it with ribbon scraps. Okie's .cut files made it so much easier though. Thank You So Much!!!
 I will post again when I get it all decorated. I still have to figure out what will fill it & who will get it.
Thanks for looking. Questions & comments are always welcomed.
Lori
Lori
Cricut Cut Bow Easy
Here is the Bow Easy that I cut with my Cricut. Narelle (GirlFromOz) from the Cricut MB was kind enough to share her .cut file HERE. It is post 8 of that thread. In that post she also has a link to the Bow Easy directions. Thank You So Much Narelle!!!

For those of you that don't know what a Bow Easy is: It is a tool to assist in making the perfect bow. You can make many different size bows & even make multi-loop bows. There are many videos on YouTube showing how to use it.
How I made mine: I used cardboard from the back of a paper stack. Using Narelle's .cut file, I cut it out twice. I glued the 2 pieces together with Mod Podge to give it a little more sturdiness (not sure if this is necessary or not.) Then just for me I painted it pink and gave it a coat of Mod Podge. I did make a bow to test it & it came out great, but I don't have a pic of it.
Thanks for looking. Questions & comments are always welcomed.
Lori

How I made mine: I used cardboard from the back of a paper stack. Using Narelle's .cut file, I cut it out twice. I glued the 2 pieces together with Mod Podge to give it a little more sturdiness (not sure if this is necessary or not.) Then just for me I painted it pink and gave it a coat of Mod Podge. I did make a bow to test it & it came out great, but I don't have a pic of it.
Thanks for looking. Questions & comments are always welcomed.
Lori
Thursday, March 5, 2009
Ice Cream Card & Door Hanger
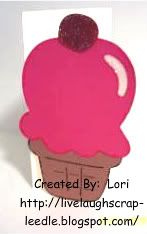
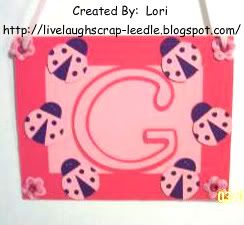
This is the card that I made for Gretchen. I used CDS to weld the ice cream cone to a rectangle to fold & make a card. I cut the layers & adhered them to the front of the card. I used glitter glue in the glare spot & on the cherry. I inked around the cherry with ColorBox ink. I also inked around the ice cream cone & ice cream top with LePlume II Markers. Click HERE for the .cut file.  The door hanger was another gift for Gretchen. I used Stretch Your Imagination for the frame & backing, Tear Drop for the G, and Doodlecharms for the ladybugs. Other embellishments are: ribbon for hanging, misc. flowers & Making Memories flower eyelets.
 Thanks for looking. Questions and comments are always welcomed.
 The door hanger was another gift for Gretchen. I used Stretch Your Imagination for the frame & backing, Tear Drop for the G, and Doodlecharms for the ladybugs. Other embellishments are: ribbon for hanging, misc. flowers & Making Memories flower eyelets.
  Thanks for looking. Questions and comments are always welcomed.
Lori
A Proud member of The Lime Light. Click on over to see what we are doing.
Monday, February 9, 2009
A Purple Cupcake
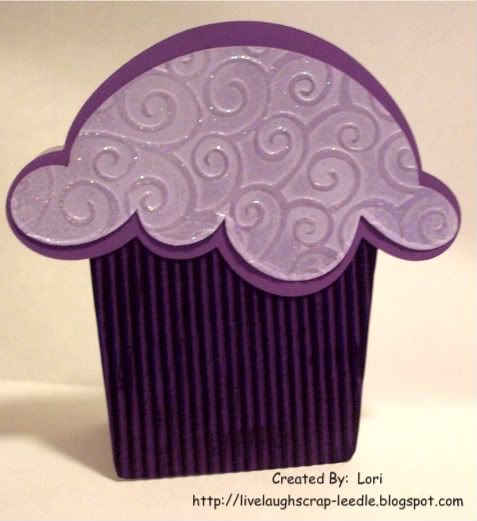
This is the first shape card that I have made with Cricut Design Studio. I have tried this may times, but it just never would come out right. I was bound & determined to get this one right. I used George & Basic Shapes for the bottom part of the cupcake and Doodle Charms for the top part. The fold is at the top of the cupcake. I used my Cuttlebug with the Devine Swirls embossing folder for the top layer of the icing. I also heat embossed the top layer and the wrapper part of the cupcake. I used my crimper to give texture to the cupcake wrapper.
Click HERE for the .cut file.
I made this card for my best friend and there was no choice but for it to be done with all shades of purple. I've got to say she loved it. To tell ther truth though, she would have loved it even if I would have just written happy birthday on a crumpled piece of "purple" paper.
HAPPY BIRTHDAY CHERIE!! You said that this was your best birthday ever and I am so glad. I sincerely hope it only gets better from here, you deserve it. I love you!!
Thanks for looking. Questions and comments are always welcomed.
Lori
A Proud member of The Lime Light. Click on over to see what we are doing.
Wednesday, December 10, 2008
A Few More Ornaments
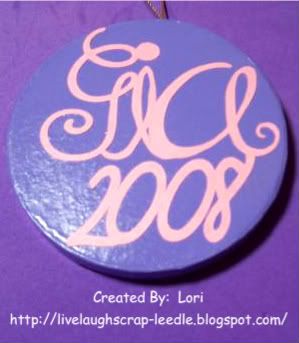
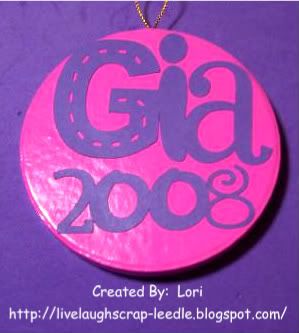
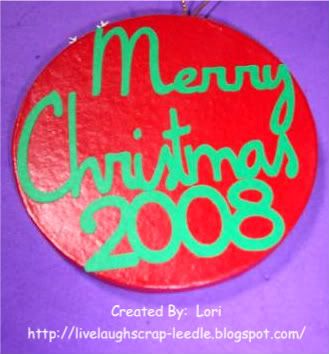
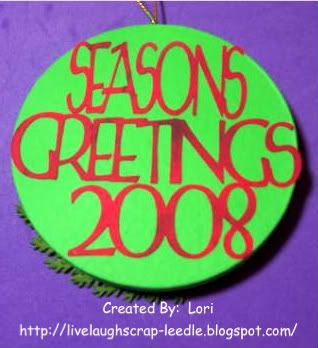
Ok, so here are a few more ornaments. A friend that I had grown up with had seen my Godchild's ornament. He wanted me to make some for his daughter. They give her six new ornaments every year & he wanted me to make four of them for her.
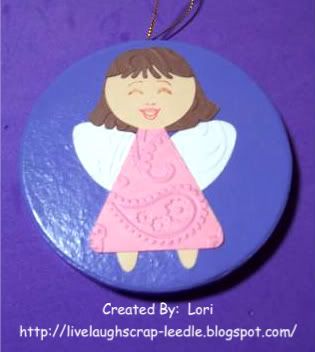
Angel: I made this one using CDS, George & Basic Shapes, and Paper Doll Dress Up. Click HERE for Angel .cut file. When you cut it, you will not use the head on the 2nd body. This angel is very simple, but I really don't design much with CDS. I mostly use it to size things correctly & weld letters to make words, so this was an accomplishment. I think she came out cute. I also used Peachy Keen Face Stamps (Blushing Brides). I also used the Cuttlebug for her dress, wings, & hair.

 Gingerbread Man: He came from the Stretch Your Imagination cart. I used Markers to color in the colored parts of the "icing", then I used Liquid Embossing to give it a little dimension.
 Christmas Stocking: I can't remember which cart this one came from. I used the MS Branch punch for the branches at the top.
 Rocking Horse Wreath: I think this one is my favorite. (I have to check on this one too about the cart.) I appologize - I have been working on so much lately that I don't remember all of supplies used. I used the MS Branch punch to make the wreath. I rubbed a dark green ink pad across the horse & the wreath. I like the way it turned out. It kind of made it look antique-ish.
 Thanks for looking. Questions & comments always welcomed.
Angel: I made this one using CDS, George & Basic Shapes, and Paper Doll Dress Up. Click HERE for Angel .cut file. When you cut it, you will not use the head on the 2nd body. This angel is very simple, but I really don't design much with CDS. I mostly use it to size things correctly & weld letters to make words, so this was an accomplishment. I think she came out cute. I also used Peachy Keen Face Stamps (Blushing Brides). I also used the Cuttlebug for her dress, wings, & hair.
 Gingerbread Man: He came from the Stretch Your Imagination cart. I used Markers to color in the colored parts of the "icing", then I used Liquid Embossing to give it a little dimension.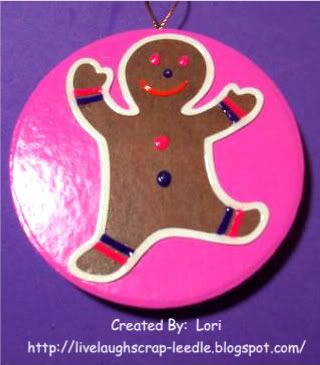
 Christmas Stocking: I can't remember which cart this one came from. I used the MS Branch punch for the branches at the top.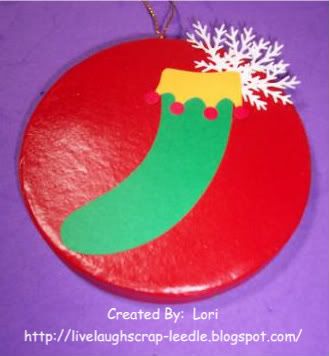
 Rocking Horse Wreath: I think this one is my favorite. (I have to check on this one too about the cart.) I appologize - I have been working on so much lately that I don't remember all of supplies used. I used the MS Branch punch to make the wreath. I rubbed a dark green ink pad across the horse & the wreath. I like the way it turned out. It kind of made it look antique-ish.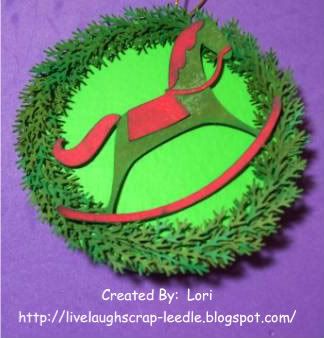
 Thanks for looking. Questions & comments always welcomed.
Lori
A proud member of The Lime Light Design Team. Please click on over to see what we are doing.
Monday, August 11, 2008
Fair Booth Decoration & .cut file (Pre Blog)
The poster I made for our booth in our parish fair.I am adding the .cut file for the crab, jellyfish, octopus, & squid HERE. Mermaid
 Merman
 Fish
Fish Clam
Clam Thanks for looking. Questions & comments welcomed.
 Mermaid
 Merman
 Fish
Fish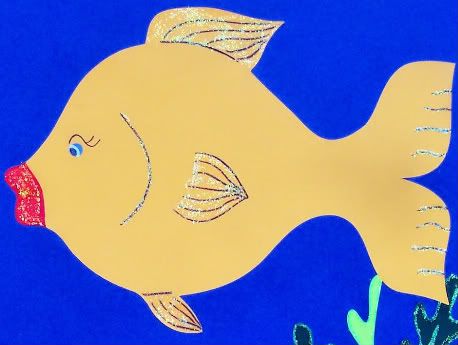 Clam
Clam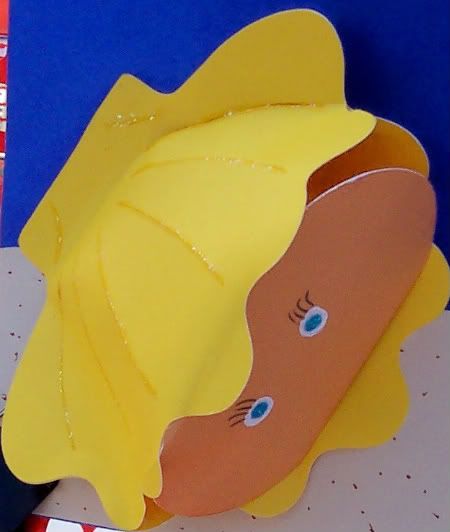 Thanks for looking. Questions & comments welcomed.
Subscribe to:
Posts (Atom)