Followers, Guestbook, & Comments

My followers are being shown in the right column. My Guestbook is at the bottom. Please follow, comment on posts, & sign my guest book. Your comments encourage me to keep sharing my work. I love hearing from you all.

When you leave a comment, I have to moderate it before it will be posted. So if you have a questions or comments, feel free to ask & if necessary note that you don't want your comment posted.
Showing posts with label Crop-A-Dile. Show all posts

Friday, November 13, 2009

Gift Bag - Paper Lunch Bags

Thanks to Okieladybug for this great idea. She has been making these gift bags for a little while now & I have been admiring them. Then she went & got picked to be a guest designer for Christmas With The Cricut and made a video on how to do them.

I had used the paper lunch bags before for favor bags, see HERE, but nothing like this.

The only problem I had was that I had to go buy some punches. I really don't get punches b/c of my Cricut. However, I wanted to make the handle. *Note* This project can be done just as nicely w/o making a handle, but I had to blame Okie for me having to buy them. *LOL*

Details:
Paper Lunch Bag
Misc. Papers & Ribbon
Marvy Uchida 2 1/2" Square Scallop Punch
Marchy Uchida 2" Square Punch
Studio G December Stamp Set
Glitter Gel Pen
Cuttlebug w/ Fiskars Texture Plate
Color Box Pigment Ink

After decorating both sides of the bag, I punched a 2" square hole at the center top of the bag (all the way through. Then with the light blue paper I did the same twice. I then used the 2 1/2" scallop square punch, centering it around the 2" hole in the blue paper (twice). This gave me the scallop square frame. I adhered one to each side of the bag.
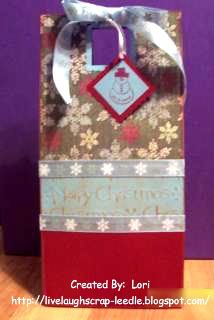
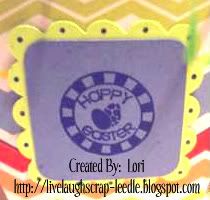
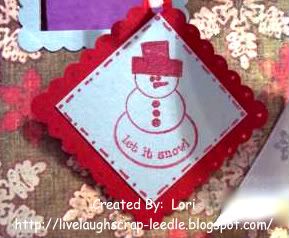
For the tag I just used one of the blue squares & stamped it w/ the Studio G stamp. I layered it onto a red 2 1/2" scallop square. I then used a dark red glitter gel pen to put dots around the scallop edge (hard to see). I also used it for the faux stitching on the blue layer, around the edge of the hat, & on the eyes, nose, & buttons (again hard to see in the pic). But it added so much to the tag in person.

Okie, I hope I did your project justice.
Thanks for looking. Questions & comments are always welcomed.
Lori

Tuesday, November 3, 2009

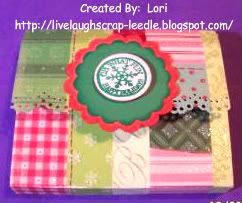
Sticky Note Holders

I made Sticky Note Holders in several different styles. The inspiration for all of theses came from Angie & her Chic'n Scratch Live Videos.

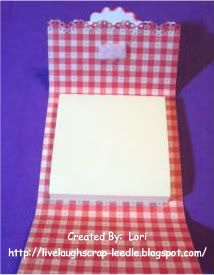
These first 2 holders are an adaptation from the Pocket Card. I just didn't put pockets on the inside, I added sticky notes. The cardstock measurements & score line measurements are just altered to fit the sticky noted.
1st one:
Mini Monograms Cart for scallops & circle
MS Doily Border Punch
Studio G December Stamp Set
Velcro for closure
ATG

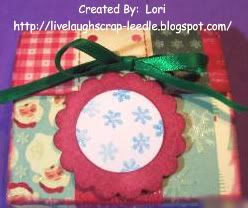
2nd one:
Mini Monograms Cart for circle & scallop
Ribbon for decoration & closure
CAD to punch holes for ribbon
Stamp- ?
ATG & Pop Dots

I got the inspiration for this one from This Video of Angie's.
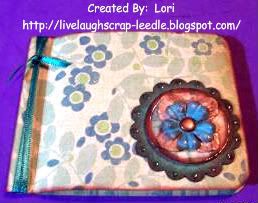
Crimper Book Style:
Fiskar's Crimper
Ribbon
ATG
Mini Monograms Cart for circle & scallop
Glossy Accents
Prima flower
Making Memories Bronze Snap
CAD to attach snap

I think this one is my most favorite of all. The inspiration for this one came from This Video of Angie's.
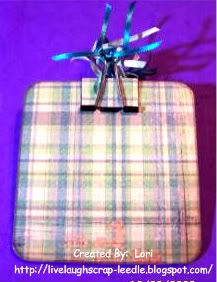
Coaster & Binder Clip Style:
4x4 140 lb. Watercolor Paper (chipboard or coaster work well too)
4x4 Patterned cardstock for both sides.
A small piece of matching cardstock to fit on the binder clip
Ribbon
Mod Podge to cover each side after printed cardstock is attached. I also put some on the edges. I think it helps to seal it a little better.
ATG

The back side. This sticky note holder can be used either way depending on the user's mood. Also the sticky notes are not stuck down, so no damage when they are finished. Just add a new pad of sticky notes.
Thanks for looking. Questions & comments are always welcomed.
Lori

Paper Bows

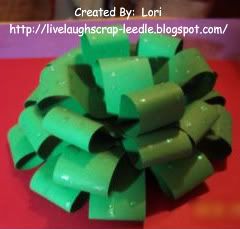
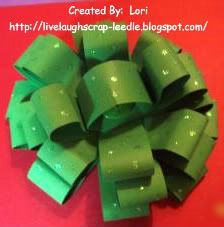
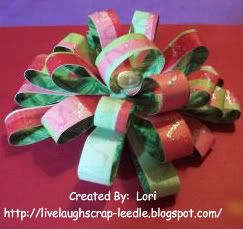
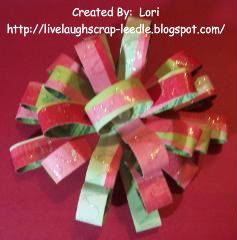
I made these paper bows using Tammy's Video Tutorial on the Christmas With The Cricut Blog. At the end of the tutorial for the Explosion Box there is a video on how to make these bows. Thanks so much Tammy. These were so much fun & easy to make.

This was my first bow. I made this just out of cheap plain cardstock (not knowing if this would be a successful attempt). I was very pleased with how it turned out so I added some dots of clear opalescence glitter glue to the bow.


This was the 2nd bow. I made this with some double sided Christmas cardstock. I wanted to try something a little different with this one though (narrower strips). I think I like the original one better, but the narrower strips might work better if you make a smaller bow (shorter strips).


Overall I am happy with them & will definitely be making many more for all occasions.
Thanks for looking. Questions & comments are always welcomed.
Lori

Monday, October 19, 2009

Halloween Party Favors

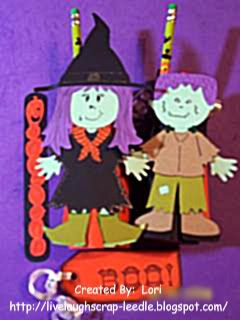
These are the Halloween Party Favors that I made for my daughter's class. I covered toilet paper rolls with either orange or black cardstock. The I attached the Paper Doll Witches & Frankensteins to them. I cut out circles and attached them to the bottoms of the rolls with Zip Dry Glue (This stuff made an excellent bottom - holds great even when filled.)

I filled them with Skittles, Starbursts, Halloween Kaleidoscopes, Halloween Pencils, and Halloween Bookmarks.

Details:
Dolls are all Paper Doll Dress Up Cart.
Faces are Peachy Keen Stamps & hand doodled.
I used markers & gel pens to hand embellish the dolls & clothing.
Bookmarks: Base is from the Tags Bags Boxes & More Cart. The stacked pumpkins are from the Stretch Your Imagination Cart. I cut off the feet, arms, & scarf.
Tag is from the Plantin Schoolbook Cart. "BOO" is stamped from a Martha Stewart Halloween stamp set that I got on clearance at M's last year. I also edged with a black stamp pad


Standing & wrapped in Cello bags.
Thanks for looking. Questions & comments are always welcomed.
Lori

Purse Shaped Giftcard Holder (Pocket Card Holder)

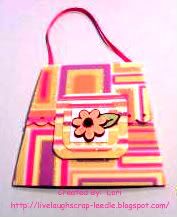
Well here is the pic of the purse shaped giftcard holder that I mentioned in my last post. You can check out my previous post HERE, I have a link to where I found the directions for these. The only thing I did different on this one is that I cut the sides at angles & punched holes in the top to add the ribbon strap. This one also only has 1 pocket. I added the message on the inside of the flap.

For the embellishment, I used an inchie from one of the swaps I was in. Kelly Scott (from the Cricut MB) made the inchie which is the flower on the white 1 inch square base. I layered that on a 1 1/2 inch base & then layered that onto a 2 inch base. I added pop dots below the embellishment to close the top & be able to open it.

I used the Threading Water border punch for the ebge of the top flap. The paper (I think) is from a Nana's Kid's stack.
Thanks for looking. Questions & comments are always welcomed.
Lori

Monday, May 25, 2009

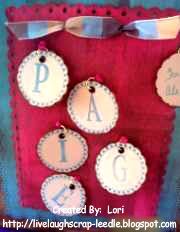
Happy Birthday Paige (Gift Bag)

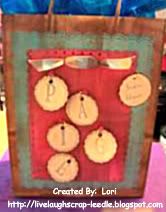
I made this gift bag for one of my daughter's best friend's birthday. They don't go to school together anymore & don't get to see each other as much as they would like. So, I wanted her bag to be a little special. I'm sorry the pics don't really do it justice.
Details:
I ran a brown ink pad over the craft paper brown bag & pink & aqua cardstock.
On the aqua cardstock, I used that MS Doily Border Punch (all 4 sides)
On the pink cardstock, I used the Fiskar's Threading Water Border Punch (all 4 sides)
I used the faux bow technique on the top of the pink cardstock.
I cut out scallop circles using the Mini Monograms Cart.
I spelled out her name with the scallop circles using my 1 5/8" Stamp Rite wooden stamper and the large letters & the dotted border from The Stamp Castle.
I used my CAD II to kind of randomly punch 5 holes in the pink cardstock. I knotted pink ribbon in the holes and taped in on the back.
I then used a jump ring to attach the letters to the ribbon.
We used an extra scallop circle to have a from tag & attached it to the edge of the top layer.
I layered them all together & attached it to the front of the bag.

Close up:
Thanks for looking. Questions & comments are always welcomed.
Lori
A Proud member of The Lime Light. Click on over to see what we are doing.

Monday, May 18, 2009

Teacher Appreciation Gift: Note Card Set (20) - Day 2

I made a set of 20 note cards and envelopes for my daughter's teacher for Teacher Appreciation week. These will be given to her on Tuesday. I am still working on projects for the rst of the week. I did them in the school colors, so she can use them for notes to parents. I also put her monogram on them so that can be used for personal reasons too.
Details:
Ultimate Crafter's Companion was used to make the cards.
Mini Monograms Cart was used to cut the scallop circles. i added pop dots between the scallops for some dimension.
I used the MS Threading Water border punch for the yellow layer & added ribbon with a faux bow for some decoration.
For the monogram, I used my 1 5/8" wooden stamper and small & large letters from Just Right. You can get them from The Stamp Castle. For the entire month of May you will get FREE SHIPPING when you use the promotional code: Lori1.
I also made a box to put the cards in.
Details:
The UCC was used to make the box.
I made a belly band to wrap around the box to hold it closed.
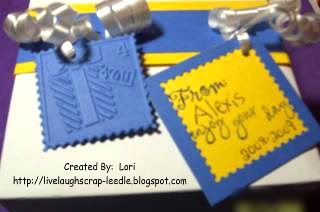
I used the Cuttlebug for the tag with the Stamp Die & the 4 You Stamp embossing folder. With the edge of the Stamp negative, I made another tag for my daughter to sign.
I punched a hole in the tags & in the belly band with my Crop-a-dile & tied them on with some curly ribbon.
Thanks for looking. Comments & questions are always welcomed.
Lori
A Proud member of The Lime Light. Click on over to see what we are doing.

Thursday, April 16, 2009

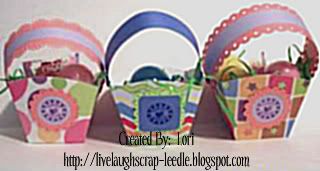
Easter Baskets for Family Kids

Finally, here are the other Easter Baskets that I made.
I used Tags, Bags, Boxes, & More to cut the Nut Cup (fit to page on a 12x12 page). I was able to get 2 nut cups out of 1 sheet.
I used Mini Monograms for the scallops (circles & squares) & the regular circles & squares.
For the boys' baskets I just cut a strip of cardstock & punches a hole with my CAD. I attached the handle with brads.
For the girls' baskets i did the same except that I layered 2 strips of paper together. I also used wither the Threading Waters Border Punch or the Doily Border Punch. I also attached these with brads after punching the holes w. my CAD.
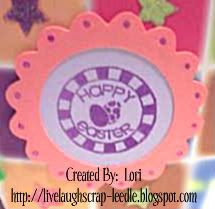
Close ups of the decorations on the front of the baskets. For the doodle dots, I used Metallic blue & purple Gel Writer Pens (the 100 pack from Sam's).
Thanks for looking. Questions & comments are always welcomed.
Lori
A Proud member of The Lime Light. Click on over to see what we are doing.

Wednesday, March 18, 2009

Alyssa's Doorhanger

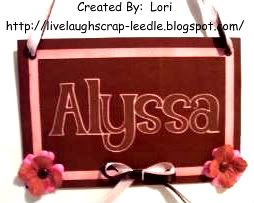
This doorhanger was made for a friend of my daughter. Her mom told me that her room is decorated in pink & brown & this is what I came up with.
Details:
Cricut Design Studio
Misc. cardstock
Misc. ribbon
Cricut Cartridges: G&BS & Alphalicious
Making Memories Eyelets
Prima Flowers & Misc. Brads.
I used my Ultimate Crafter's Companion to help make the bow along with Nilda's instructions.
ColorBox Pigment Ink Pads.
Thanks for looking. Questions and comments are always welcomed.
Lori
A Proud member of The Lime Light. Click on over to see what we are doing.

Thursday, March 5, 2009

Gretchen's Book

Here is another book that I made with my BIA & ATG. I seem to be inseparable from them lately. This "G" book was made as a present for Gretchen, a little girl in my daughter's class.

I got a wonderful idea from someone (sorry, can't remember who posted it) on the Cricut MB about using 140 lb. watercolor paper as chipboard. I like it very much. It is thinner but very sturdy, especially after being covered with cardstock.
I used CDS - mostly for sizing, to make sure everything would fit & for the multi-cut feature.
Cartridges used: Mini Monograms, Cricut Sampler, and Walk In My Garden
Embellished with: Glitter Glue, Ribbon, Misc. Flowers, Brads, & Snaps
I inked around the edges of the covers with ColorBox Pigment Ink Pads & LePlume II markers.
I used 1/2' o wires.
For the inside pages, I just used regular copy paper (12) cut to the same size as the covers. I put each cover in the BIA separately & used the bar as a guide to make sure the pages were being placed correctly.


Thanks for looking. Questions and comments are always welcomed.
Lori
A Proud member of The Lime Light. Click on over to see what we are doing.

Friday, February 13, 2009

Valentine's Party Favors

Well, these are the party favors for my daughter's second grade class. I was having a hard time with how to make favors for boys for Valentines day that were not too "girly". Well, they will like the candy inside anyway.
I made 4 red ones for the boys. I stamped the red cardstock with white ink. I used the XOXOXO stamp in the Studio G Feb. set. Then I made bookmarks (using CDS to weld hearts & a rectangle) stamped with red on red hearts & layered silhouette ans solid hearts on the ends of the bookmark. I used white ribbon with red hearts on the end of the bookmarks and to attach them to the sour cream containers. Click HERE for instructions. I also used my crimper & Terrifically Tacky Tape to seal the edges. To make the containers I used 8 x 5 1/2 cardstock. I wanted these to be a little bigger. They are filled with a mini fruit roll up, a fruit by the foot, and a plastic heart maze.
I made 7 pink ones for the girls. The girl's containers are pink with red hearts stamped (misc. stamp that I picked up somewhere). For the bookmarks I used a deeper pink & stamped love on them from the Feb. Studio G set. I made the ends of these with white & lighter pink hearts. The ribbon on these where pink with red hearts.
Thanks for looking. Questions and comments are always welcomed.
Lori
A Proud member of The Lime Light. Click on over to see what we are doing.

Friday, January 30, 2009

Birthday Cards

Yeah, I know you all are glad I'm finished with Christmas. Espceially since it is almost Valentine's Day. OH NO, I haven't even started on them yet. I might have them posted around Easter, LOL.
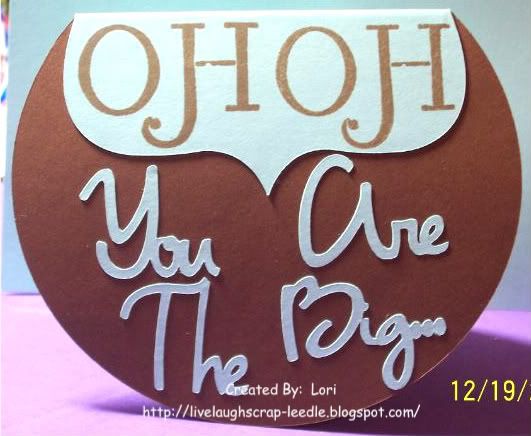
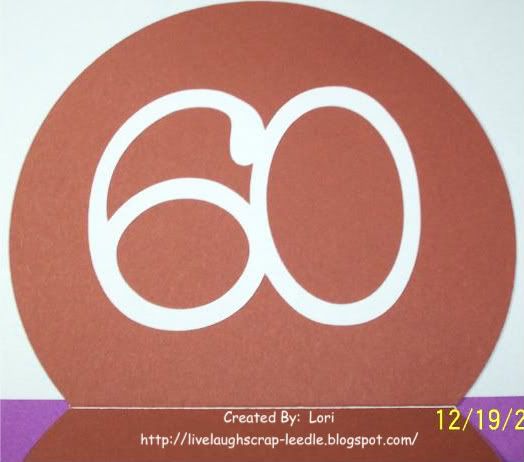
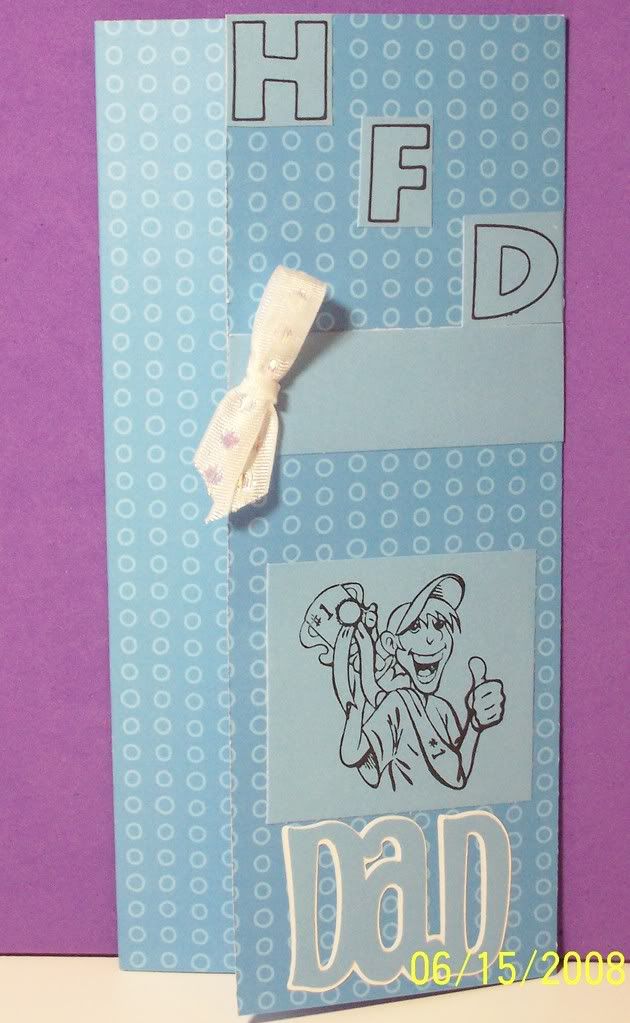
This first card was for my dad. Men's cards are the hardest for me, I think. Still not sure if I like this one. But, he got it anyway.
Front:
Inside:
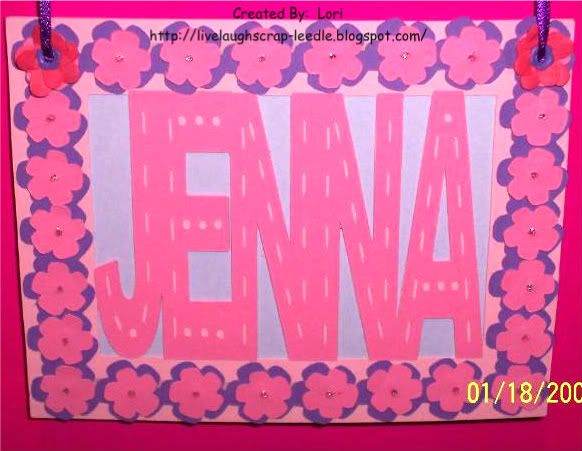
This one was for my niece Jenna. She turned 8 and just loved this card/wall or door hanger.
I hand wrote a birthday note on the back.
Details:
Misc. paper, CDS for the flower frames andfor the name & frame, I usde flitter glue for the center of the flowers, misc. ribbon for hanger, misc. flower & flower eylet set with the crop-a-dile.

Thanks for looking. Questions and comments are always welcomed.
Lori
A Proud member of The Lime Light. Click on over to see what we are doing.

Monday, October 27, 2008

Jason is 6 Years Old!!!!


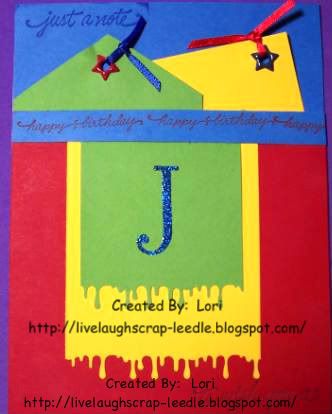
This card was made for my nephew, Jason. He just turned 6 & was so excited about it.
I used a sketch from Card Maker's Sketch Book for this card. It was so much fun to make & really quick. I cut 2 tags freehand. added 2 star eyelets using my Crop-A-Dile, & misc. ribbon. I used the MS Drippy Goo punch for the layered base for his intitial. Sentiments stamps set is from Stampendous, on the bottom (it isn't showing too well) says, "to wish you a" & on the inside it says "happy birthday". I can't remember the stamp set for the "J". I used heat embossing on the initial.
Thanks for looking. Questions & comments are always welcomed.
Lori
A proud member of The Lime Light. Click on over to see what we are doing.

Monday, October 13, 2008

Kids' Birthday Cards

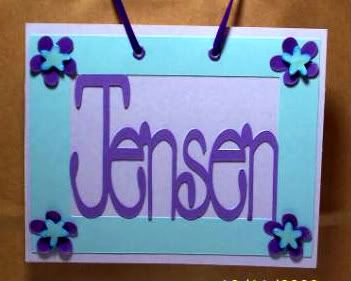
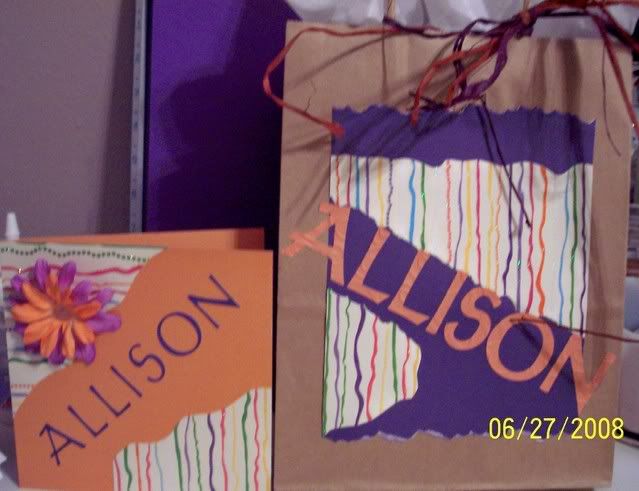
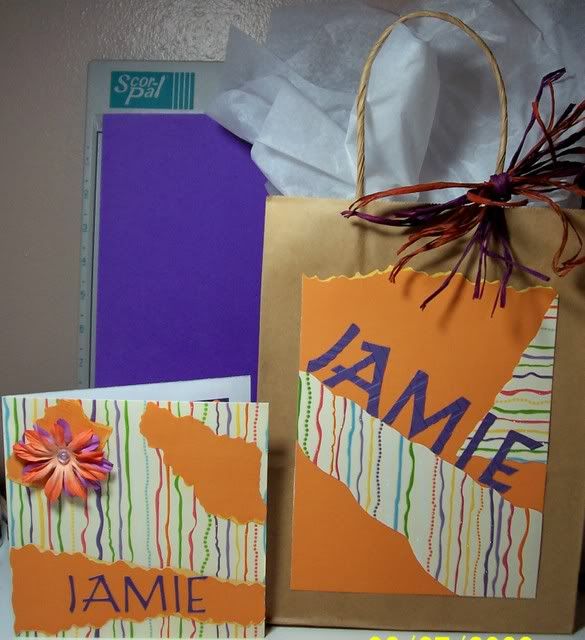
I made this card for my niece's 7th Birthday. I made a flat card & put her birthday message on the back. I made it into a doorhanger & hung it on the handle of her gift bag. She absolutely loved it & so did the rest of the girls at the party.
Details:
The name & frame were cut out as one piece. Then I cut the name in purple & layered it.
Cricut Design Studio to size & weld the name & the frame
Tear Drop for the name
Stetch Your Imagination for the frame - blue flowers were cut from the corners of the frame
George & Basic Shapes for the purple flowers
Ultra Thick Embossing Enamel with a heat gun was used on the flowers then layered
Crop-A-Dile for setting the Making Memories Eyelets
Misc. Ribbon was used for the hanger

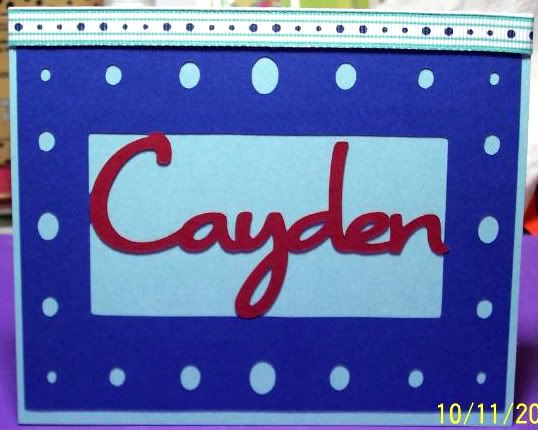
This card was made for the son of some very good friend's. It was for his 5th birthday.

Details:

The name & frame again was ust all in one piece. Then I cut the name in red & layered it.

Cricut Design Studio to size & weld the name & frame

Opposites Attract for the name

Stretch Your Imagination for the frame

Misc. Ribbon

Thanks for looking. Comments & questions always welcomed.

Lori

Proud member of The Lime Light design team.

Friday, September 26, 2008

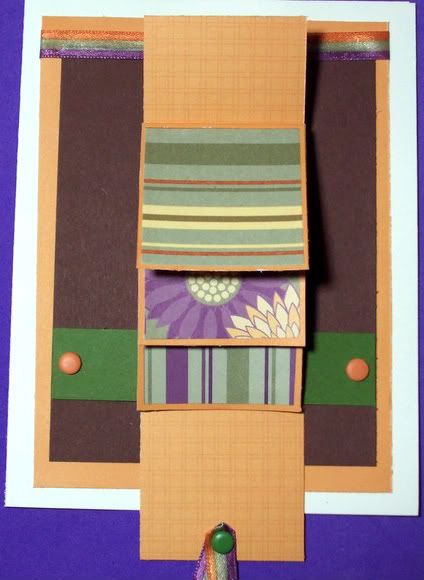
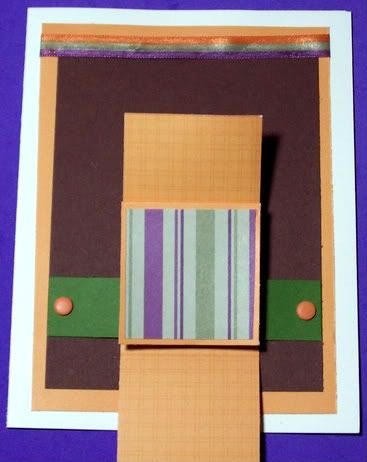
My 1st Waterfall Card

Let me first say that I got inspiration from so many wonderful waterfall cards that I have seen. I ended up using the directions from Dawn. You can click her name to get to her video instructions on how to make this card. Sorry the pics aren't the best.
Not only is this my first waterfall card, it is actually the first card that I have made without someone specific in mind. So, I'm not sure yet who will receive it, but I hope they like it none the less. I thought it would make a great Happy Fall or Happy Thanksgiving Card.
Details:
Misc. cardstock from my stash
Printed Paper Scraps from the dollar bin at Target
Ribbon from the dollar bin at Target
Making Memories snaps
Crop-A-Dile to punch holes & set the snaps
Thanks for looking. Comments & questions always welcome.
Lori
Friday, September 19, 2008

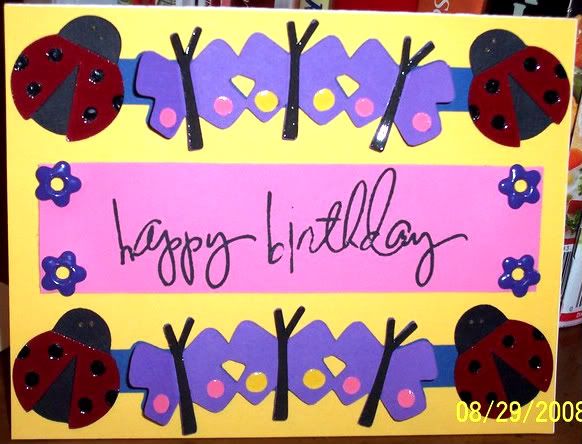
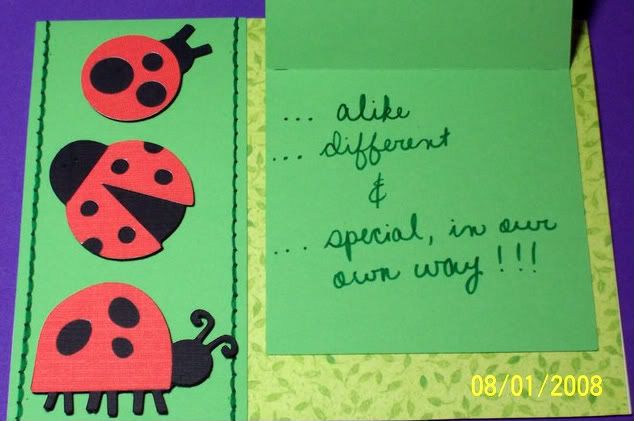
Happy Birthday Mom

Well, I have not been around for a while. We had Gustave & Ike to worry about. I'm still not totally back to my cardmaking & blogging, but I'm working on it.

I did get my mom's b-day card done & given to her on time & before we had to evacuate. But I am just getting to post it.

Before Katrina my mom had a beautiful butterfly garden. So I knew she would love this card.
Details:
Ladybugs - Doodlecharms, Butterfly Border - Walk In My Garden, Liquid Embossing on the ladybug wings & dots & body of the butterflys, Stamp is from Heidi Swap.
Thanks for looking. Comments & questions always welcomed.
Lori
Saturday, August 16, 2008

Thank You (Shoe)

I made this card for a very good friend. She gave my daughter a gift certificate to get some school shoes. I entered this card in a challenge on DailyScrapper's blog http://abusyplace.blogspot.com/. The challange was to use any Cricut cut, colors were to be black & white, & you had to use ribbon in some way. you might want to check it out. She has 2 more challenges this weekend.
Details:
I used CDS, PDDU, OA, & SYI. In CDS, I skooched one shoe off of the mat so that it would only cut one. The ribbon is from Michael's. I used a white Gelly Roll pen for the scored marks on the shoe. I also used the CAD to punch the holes to lace the ribbon. I also used Liquid Embossing on the "Thank You", it just doesn't show well in the pic.
Thanks for looking. Questions & comments are welcomed.

Thursday, August 14, 2008

Welcome Back to School

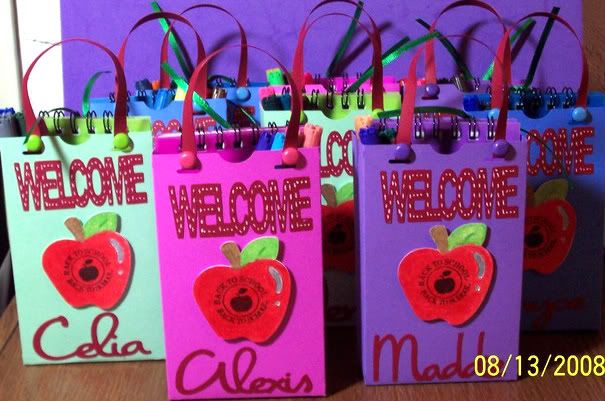
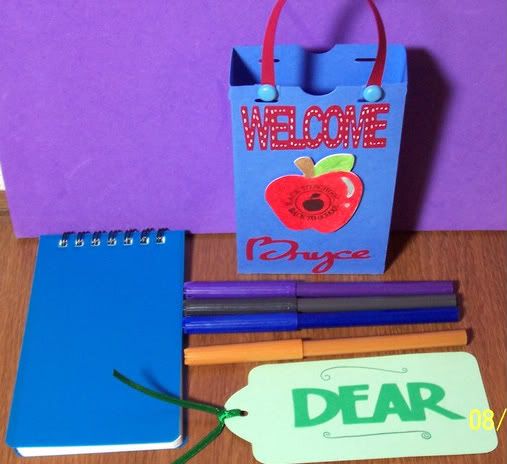
I have been trying to get this finished for my daughter's first day of school. I made it, just barely! She is starting a new school this year, so I wanted to makes some welcome treats for her classmates. There are only 9 children in her class including her, so I thought, "Piece of Cake, I can knock that out in no time." Well, when I started to make them, it was harder to decide what I wanted to do than it was to actually make them. But, I can't ever seem to get a project "finished". I am one that, when I think it is done, I find more that I want to add. I need to learn, when enough is enough.

Details: CDS, TBBM, DC, OA, MM, Studio G Stamp, See-D's Stamps, MCPT, Glitter Glue, Pop Dots

All 9 Bags:

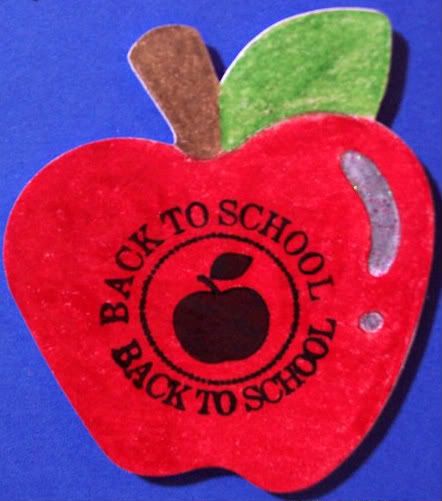
Close up of apple: MCPT & Studio G Clear Stamp (Sept. Set)
This is what each child received: Decorated Lunchbag from TBBM, Decorated Bookmark Tag from TBBM, Notepad, & 4 Markers

Thanks for looking. Questions & comments are welcomed.

Sunday, August 10, 2008

Cards (All Pre Blog)

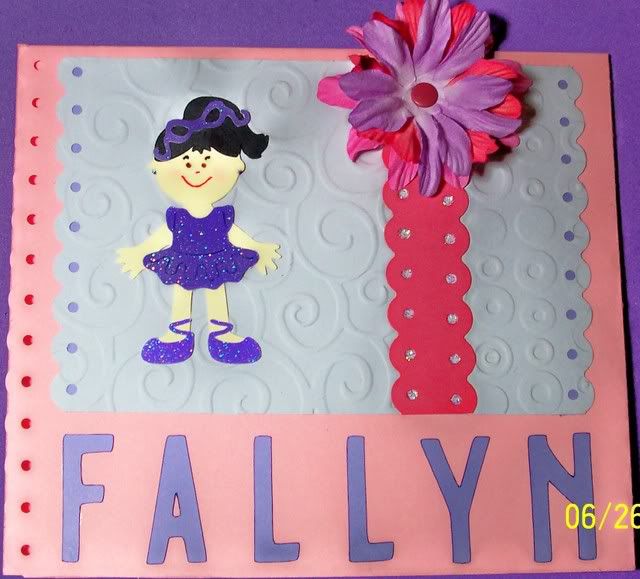
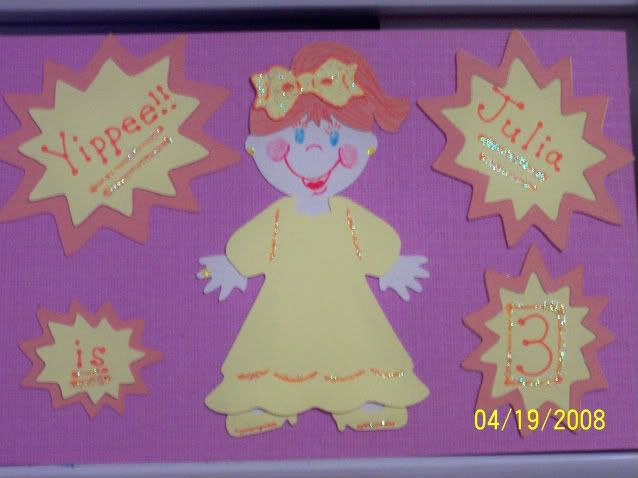
This is a birthday card for a very beautiful princess.
This is a birthday card for a very special friend.
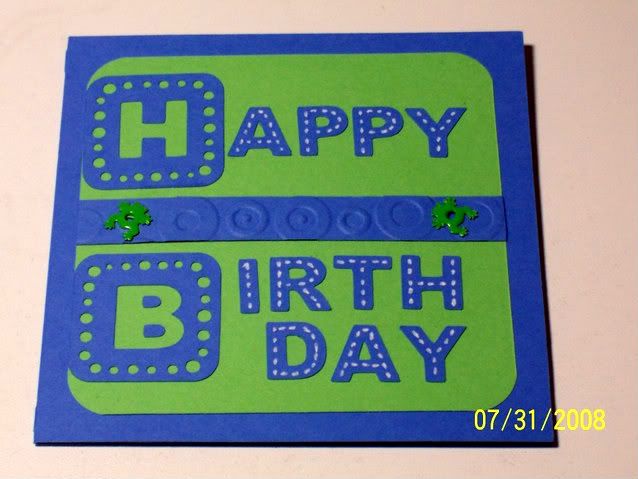
This is a card that I made for my brother's 26th birthday
This is a card that I made for my grandmother. She used to collect turtle figurines & things.
I made this one for a Cricut MB Sister. She was trying to prove her husband wrong. He said that she could never get enough cards to make a card border around her scrap room. We proved him wrong (LOL). Father's Day Card
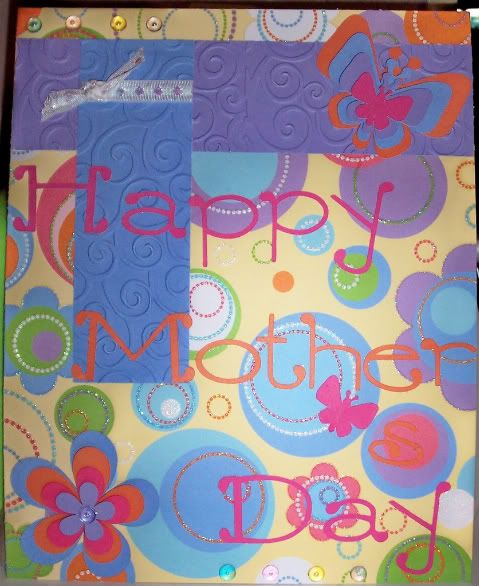
Mother's Day Card (Full 81/2 x 11 page)
Father's Day Card
Card for a friend that is moving to another state
A Dancing Card for a very good friend's daughter
The next two are for a friend's set of twins for thier b-day
A card for my neice
A card for a friend's son & entered posted for the Cricut Demonstrator Survey
A card for my neice that was having surgery (it went with her bouquet)
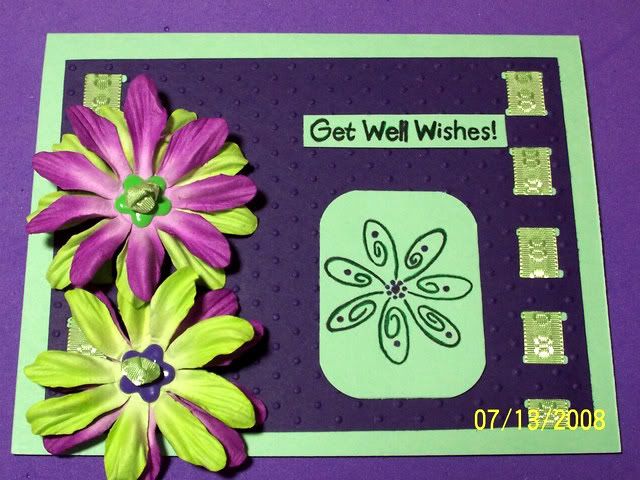
A thank you / appreciation card for a very good friend
A birthday card for a friend's daughter It was my first attempt at the MCPT.
A card for my "Snowball Lady" She just had her first grandchild (a boy)
A thank you card for okieladybug - Cricut MB
My first entry for a challenge. Thank You Shannon Leffew for the challenge. It is going to a very good friend.
Another part of Okie's card
A TY card for my parents. You know they always do so much for us. It also folowed a challenge on Papertake Weekly.
Thanks for looking. Questions & comments welcomed.