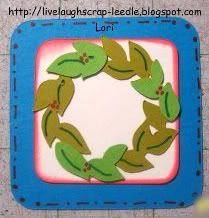
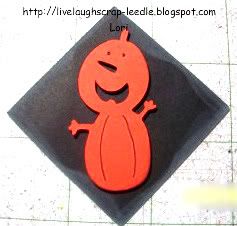
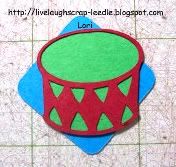
Here is what Joyce (1fotojoy) sent to me for our Swap. I just love all of it. She sent sooooo much.
This is the card that she sent me. I just love how she made the note card actually flip open. So So Cute!!!! Thanks so much Joyce. I would love to keep in touch with you and definitely would love to swap again with you 1 on 1. If you ever need anything don't hesitate to ask.
Sentimentals:
Love Struck:
Stand and Salute:
Mother's Day 2010:
And she even sent the scraps left over and negative cuts.
This was such a great swap. Again a big Thanks to Momo for hosting it. I had a wonderful partner with Joyce, so a huge Thanks to her too. I love all of the cuts that you sent. I can't wait to Make Some Time to play with them.
Thanks for looking. Questions & comments are always welcomed. Lori
Followers, Guestbook, & Comments
My followers are being shown in the right column. My Guestbook is at the bottom. Please follow, comment on posts, & sign my guest book. Your comments encourage me to keep sharing my work. I love hearing from you all.
When you leave a comment, I have to moderate it before it will be posted. So if you have a questions or comments, feel free to ask & if necessary note that you don't want your comment posted.
Showing posts with label Swaps. Show all posts
Monday, May 31, 2010
Cricut Cut Swap for Joyce (1fotojoy) on YouTube
Momo from MadeByMomo hosted a Cricut Cut Swap. I was lucky enough to get in it. I was paired up with Joyce (1fotojoy) on YouTube. This is what I am sending her. Now, these pics aren't very exciting to see, but let me explain. Joyce is very talented - check out her YouTube channel to see for yourself. The cuts that she wanted, she wanted left plain & cut in either white, black, manila, brown or grey. she is going to decorate & embellish them to fit the projects she will be using them on. So I made multiples of all of the cuts. I do have some extras that I don't have pics of yet.
Joyce I am so sorry that these are getting to you a little late (explained in my email). Since they cannot go out into the mail until tomorrow due to the holiday I am making some extras for you too. I also have a surprise for you, SO IF YOU DON'T WANT A SPOILER - LOOK NO FURTHER!!!!!!!
Here are the cuts that I have pics of for her.
HERE IS HER SURPRISE:
It is a sign for her craft room (space). I really hope she likes it. I had a ton of fun making it. The pic is OK, but it truly does look so much better in person. I can't wait for her to see it.
Here is the tag that I made for her too. I just wrote a note on the back for her.
Special thanks to Momo for hosting such a fun swap. I also want to thank Kathy Orta YouTube & Paper Phenomenon for THIS tutorial. I just had a ball making these roses. I cut mine at 1", 1 1/2", & 2". I will show close ups in a later post.
To see what everyone is making for this swap click on the title of this post.
Thanks for looking. Questions & comments are always welcomed. Lori
Joyce I am so sorry that these are getting to you a little late (explained in my email). Since they cannot go out into the mail until tomorrow due to the holiday I am making some extras for you too. I also have a surprise for you, SO IF YOU DON'T WANT A SPOILER - LOOK NO FURTHER!!!!!!!
Here are the cuts that I have pics of for her.
HERE IS HER SURPRISE:
It is a sign for her craft room (space). I really hope she likes it. I had a ton of fun making it. The pic is OK, but it truly does look so much better in person. I can't wait for her to see it.
Here is the tag that I made for her too. I just wrote a note on the back for her.
Special thanks to Momo for hosting such a fun swap. I also want to thank Kathy Orta YouTube & Paper Phenomenon for THIS tutorial. I just had a ball making these roses. I cut mine at 1", 1 1/2", & 2". I will show close ups in a later post.
To see what everyone is making for this swap click on the title of this post.
Thanks for looking. Questions & comments are always welcomed. Lori
Labels:
.svg file,
Accent Essentials,
CN,
Cricut,
GW,
Gypsy,
Gypsy Wanderings,
Paper Flowers,
Signs,
Swaps,
Tags
Monday, January 25, 2010
School & Birthday Inchies
I picked up a few more spots in some of the inchie swaps I was in. Some others have backed out or just didn't hold up their end, so I offered to help Kelly out.
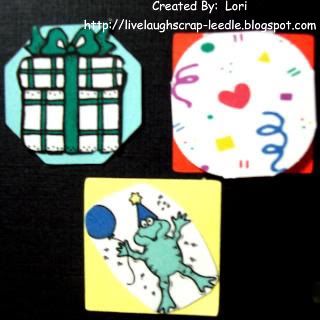
Here are my School Swap Extras:
Here are my Birthday Swap Extras:
Thanks for looking. Questions & comments are always welcomed.
Lori
Monday, October 19, 2009
Inchie Swaps: Due Jan 15, Jan, 30, & Feb. 15 2010
For those of you that may need a reminder as to what inchies are: They are 1 inch shapes uses as a base. They can be any shape as long as they are 1"x 1". There are also Twinchies 2"x 2" & and Trinchies 3"x 3". These were all made for swaps hosted by KellyScott on the Cricut MB. You can see more of my inchies, twinchies, & trinchies by clicking on those words.
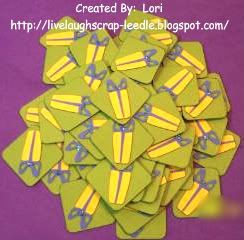
Birthday Theme Swap:
Details: Base was cut from George & Basic Shapes Cart. Present was the icon from the Wild Cards Cart. I added a dot of opal glitter glue at the center of the bow (doesn't show well in pic).

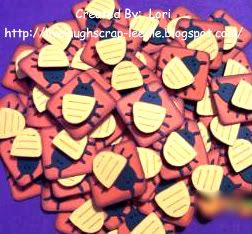
Kid Theme Swap:
Details: Base was cut from the George & Basic Shapes Cart. Bug was cut from the Doodlecharms Cart. I used pop dots to add dimension to the back of the bug.

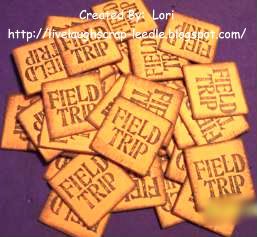
School Theme Swap:
Details: Base was cut from the George & Basic Shapes Cart. Stamp is Studio G $1 stamps from the September set. I also edges around the base with brown pigment ink for a little distressed look.
Thanks for looking. Questions & comments are always welcomed.
Lori
Birthday Theme Swap:
Details: Base was cut from George & Basic Shapes Cart. Present was the icon from the Wild Cards Cart. I added a dot of opal glitter glue at the center of the bow (doesn't show well in pic).
Kid Theme Swap:
Details: Base was cut from the George & Basic Shapes Cart. Bug was cut from the Doodlecharms Cart. I used pop dots to add dimension to the back of the bug.
School Theme Swap:
Details: Base was cut from the George & Basic Shapes Cart. Stamp is Studio G $1 stamps from the September set. I also edges around the base with brown pigment ink for a little distressed look.
Lori
Sunday, July 26, 2009
Halloween Twinchies & Inchies (Oct. 10) & Christmas Twinchies & Inchies (Nov. 30)
Twinchies:


Inchies:

These are my last Twinchies & Inchies for the Cricut MB swaps. I know they won't be my last, but they are for a little while. They are so much fun to make. I can't wait to get all of mine back & see everyone else's great work.
Inchies:
Thanks for looking. Questions & comments are always welcomed.
Lori
A Proud member of The Lime Light. Click on over to see what we are doing.
Lori
A Proud member of The Lime Light. Click on over to see what we are doing.
Friday, July 24, 2009
Rainbow inchie Swap (Due: September 30)
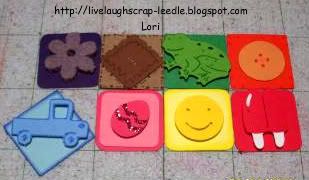
These are the inchies that I made for the Rainbow Inchie Swap on the Cricut MB. We had to make 20 of each color & we could decorate them any way we wanted to. The only stipulation was that they could only include the one color of that group. We could use white minimally as an accent color if needed & black for stamping if needed. The only one that I needed to use whit on was the popsicle (for the sticks - blackout layer). On all of the others I just used different shades of the same color. These are so much fun to do.
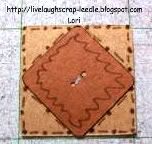
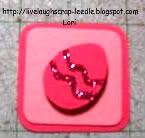
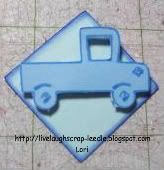
Here are the individual pics to show more detail:
Thanks for looking. Questions & comments are always welcomed.
Lori
A Proud member of The Lime Light. Click on over to see what we are doing.
Friday, July 10, 2009
Black & White Inchie Swap (Due Sept. 15)
These are the inchies for the Black & White Inchie Swap on the Cricut MB. These are so addicting. I just love making these.
Thanks for looking. Questions & comments are always welcomed.
Lori
A Proud member of The Lime Light. Click on over to see what we are doing.
Labels:
Cricut,
Heat Embossing,
Inchies,
Stamps,
Swaps
Thursday, July 2, 2009
More Trinchies and Inchies Swaps (Due Aug 31)
Well, someone in our Trinchies Swap could not fulfill their commitment. So I took 2 extra spots. Not a problem b/c I have become so addicted to making these Inchies, Twinchies, and Trinchies and am having a ball.
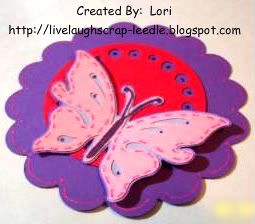
I used Mini Monograms for the Scallop & the center circle. i used the indie Art cart for the butterfly.
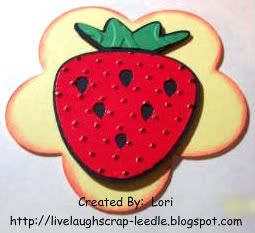
I think i used the Mini Monograms Cart for the shadow flower base. I used Indie Art for the strawberry & ran the red & green parts through the Cuttlebug with embossing folders.
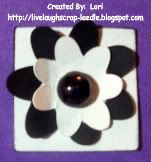
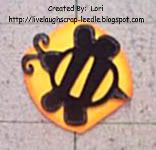
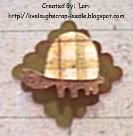
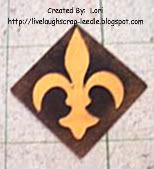
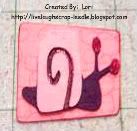
Now onto the inchies. The bee, turtle, & snail are all from the Walk In My Garden Cart. The Fleur di lis is from the Wild Card Cart. I like trying to do the bases a little different shape as long as they fit the size requirement. I used the cylinder (bee) and the (Shift H) (snail) on the George & Basic Shaped Cart.
Thanks for looking. Questions & comments are always welcomed.Lori
A Proud member of The Lime Light. Click on over to see what we are doing.
Monday, May 11, 2009
Trinchies August 2009
Well, these are for another swap on the Cricut MB hosted by KellyScott. I have to say she is a wonderful Swap Hostess. These are Trinchies, 3"x3" base decorated anyway you like as long as it fits on the base.
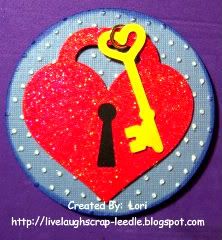
For this one, I chose the Heart Lock & Key from the Indie Art Cartridge. I titled this one "Key To My Heart".
For the base a used a 3" circle cut from the George Cartridge. I embossed it with the Swiss Dots folder in my Cuttlebug. I inked the edges with a ColorBox Pigment ink pad. I also sanded the embossed dots to have the stand out a little more.
I cut the heart lock @ 2.5" in blackout & the top layer. I used Cricut Design Studio to get the right size fro the key & cut it out in shadow. I used iridescent embossing powder & heat embossed the red layer of the heart lock to add a little shimmer.
I attached the key to the lock with a jump ring and added a glue dot under the key for added stability.
I then added it all to the base.
Thanks for looking. Comments & questions are always welcomed.Lori
A Proud member of The Lime Light. Click on over to see what we are doing.
Tuesday, May 5, 2009
Twinchies Swap June 2009
I made these twinchies for a swap on the Cricut MB that is hosted by KellyScott. Twinchies are handmade embellishments that are 2"x2". i enjoyed making the inchies (1"x1"), but the twinchies give a little more options to be able to work with them & decorate. We also decided that they did not just have to be square. The base could be any shape as long as it was 2"x2".
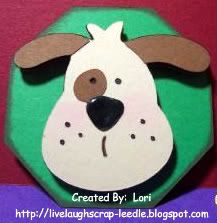
The first one I did was the dog.
My base was an octagon from the George & Basic Shapes Cart. I inked around the edges with a brown Colorbox ink pad.
I cut the dog from the Doodlecharms Cart. I cut 3 layers of the blackout shape, 2 in brown & 1 in black.
The black black out shape is the base for the top layer (tan) with a black nose (I used black Liquid Embossing over the black cardstock) & brown ears & eye spot.
I also inked around the ears on the top dog with a brown Le-Plume II marker.
I used pink chalks to blush the cheeks.
I layered all of the dog pieced with a pop-dot between them & a pop-dot between them & the base.
So this one is very dimensional.
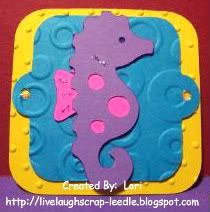
The next one is the seahorse.
My base for this one is just a square with rounded corners cut from the Mini Monograms cart. I embossed this layer in my Cuttle Bug with the Swiss Dots Folder.
The next layer is the square tag also cut from the Mini Monograms Cart. I embossed this layer in the Cuttlebug with the Spots & Dots Folder.
I thought these 2 together made it look like bubbles & was cute with the seahorse.
I cut the seahorse out of the Doodlecharms Cart. Layered them & attached to the base layers.
I inked around the seahorse & the markings with a purple LePlume II marker. I went over the marking & in the center of the tag holes with iridescent glitter glue.
I liked this one b/c it is so bright & cheery. I think it would be great for a b-day card or a vacation card or layout.
Thanks for looking. Questions & comments are always welcomed.
Lori
A Proud member of The Lime Light. Click on over to see what we are doing.
Subscribe to:
Posts (Atom)