Followers, Guestbook, & Comments

My followers are being shown in the right column. My Guestbook is at the bottom. Please follow, comment on posts, & sign my guest book. Your comments encourage me to keep sharing my work. I love hearing from you all.

When you leave a comment, I have to moderate it before it will be posted. So if you have a questions or comments, feel free to ask & if necessary note that you don't want your comment posted.
Showing posts with label Cricut. Show all posts

Friday, August 12, 2011

Desk Sign: Mrs. Honoree

I got the idea for this project from Christina at Creations with Christina HERE.  I started making this for the end of school last year.  Then I got sidetracked with so many other things at that time of year.  So I had the base painted & that's about it.  I then decided to try to get it made for back to school this year.  Funny, but it kind of works out well, my daughter has the same teacher that she had last year.
 Close Up of Flower & Pin:
Details:
I used my Gypsy and Cricut to design & create this project.
I cut a piece of chipboard (box) to 10x8.
I scored @ 3", 6", & 9".
I used gesso on both sides, then when dry, painted both sides the blue acrylic paint.  When that was dry, I used crackle medium on the side that would be on the outside.  When the crackle medium was dry, I lightly brushed  on antique white acrylic paint.  This gave it that worn wood look.
Then I just glued the smaller edge inside the folded chipboard.
I cut a piece of blue card stock 7 3/4 x 2 3/4.  I stamped a flourish stamp randomly all over the card stock.  then I ripped a section of it off & inked all of the edges.  This is the piece of card stock on the left.  There is a smaller ripped piece on the right side.
Flowers:  Flower Shoppe
Name:  Don Juan
Greenery Pieces:  Calligraphy Collection
I made the stick pin from a hat pin & some beads & pearls.  I colored the head of the pin & the other pearl(not showing in pic) with my Bic Mark It markers.
I sprayed the pieces & the base with my home made glimmer mist to give it the shimmer.

Thanks for looking. Questions & comments are always welcomed. Lori

Back to School Bookmarks

I made these Pencil Back to School bookmarks for my daughter's class.  I always try to make a little something for the kids for Back to School.  I also usually put bookmarks in their party favors too.  I'm so pleased that most of the parents have told me that they save everything that I have made for the kids.  With my daughter, of course - they are destroyed before they come home.
Details:
I used my Gypsy and Cricut to design & create this project.
Cuts:
Pencil:  Smiley Cards
Back to School:  Cricut Office Help
I added some doodle dots to add a little interest.

Thanks for looking. Questions & comments are always welcomed. Lori

"A" The Arceneauxs

Now I had a friend of my friend that keeps me busy (LOL) call me to see if I could do something for a wedding shower gift.  The new couple does not have a house yet (so no decor to match).  She knew that the bridesmaids dresses are going to be red, but did not want to go with that.  She had seen some of my previous letters & wanted to go that route.  I told her about the anniversary one that I had done, see HERE & she loved the idea.  The shower invite had several shades of blue so we decided on that color scheme and this is what turned out.  She said the bride loved it & it was her favorite color.  Don't you just love it when you don't know exactly how to do something & it just turns out perfectly.
Details:
I used my Gypsy and Cricut to design & create this project.
I painted the letter with acrylic paint & spritzed it with some home made glimmer mist (pearlizing medium, warm water, & Mod Podge in a spray bottle).
Then I sealed it with Krylon Preserve It.
Cuts:
Name, Est., & Numbers:  Lyrical Letters
Bride & Groom & Rings:  Wedding
Sign Shape:  Lacy Labels
I painted the rings with metallic gold acrylic paint & sealed with Krylon Preserve It.
I added detail lines on the bride & groom with ultra fine Sharpie markers.
I used a piece of tulle to add to the bride's veil & some I Rock Crystals as a decoration to the veil.

Thanks for looking. Questions & comments are always welcomed. Lori

"A" Angelle

This was for a gift that my friend needed.  Yes, the same friend that is ALWAYS keeping me busy.  But I love her for it.  I get to try out new techniques & re-invent these letters every time I make one.

Details:
I used my Gypsy and Cricut to design & create this project.
I painted the letter with acrylic paint.  Then used 3 shades of pink acrylic paint & a flower stamp (sorry don't remember who made it).  Then I sealed the letter with Krylon Preserve It.
Cuts:
Name:  Simply Sweet
Girl w/ Easel:  A Child's Year
Palette & Brush, ART piece, & Pennant:  Locker Talk
Brownies:  All Mixed Up
I added Glossy Accents to the paint palette & brush to make it look wet.
I also added white pen stitch marks & doodle dots to some of the other cuts to add interest.

Thanks for looking. Questions & comments are always welcomed. Lori

"H" The Hentons

Other than the teacher letters I have done, this is the first letter I have done for a family name.  My friend's aunt was celebrating her 25th wedding anniversary.  So again, my friend thought of me.  I was so excited to make this for her.  She requested the family name and something to represent the anniversary theme.  Also, her aunt is a huge Mickey Mouse fan.
This is what I came up with & was so pleased with how it turned out.  Thank goodness, they all loved it too.
Details:
I used my Gypsy & Cricut to design & create this project.
I painted the letter with metallic silver acrylic paint.  I also painted the rings & the silver layer of the medallion with the silver paint.
All of the pieces that are painted are selaed with Krylon Preserve It.
I stickled the "diamond' on the ring with crystal stickles.
Cuts:
Mickey Images:  Mickey and Friends
Names & Numbers:  Mickey Font
Hearts:  Calligraphy Collection
Rings:  Wedding
Medallion:  Elegant Edges

Oh, & my friend's mom asked me to do a frame for this occasion too.  That will be coming in a later post.

Thanks for looking. Questions & comments are always welcomed. Lori

Sunday, July 10, 2011

Dancing Card

This is a card for my friend's daughter.  I made it for her for her dance review.
Thanks for looking. Questions & comments are always welcomed. Lori

More Letters That I've Been Doing

OK, so here are some more of what has been keeping me busy.

This is the 1st letter I've done for a grown man.  I love the way it came out.
The theme I had to go with was fishing.
 This one is for a friend's niece.  The colors & theme I had to go by were teal, orange, green, & dancing.
 This one is for a friend's niece.  The them was girly & dance.  The colors - pink & brown.
Thanks for looking. Questions & comments are always welcomed. Lori

Friday, June 10, 2011

My Pinkalicious Blog Hop: All About Summer

Welcome to our June Pinkalicious Blog Hop.  If you came here from Shauna's blog then you are right on track.  If you just stumbled across this post, please go to Robyn's blog to start at the beginning & hop along with us.
Our challenge this month was to do any type of project with the theme:  All About Summer.  We had to make something that depicted what summer means to us.  And Of course use My Pink Stamper's Stamps.  Well both of my children's birthdays are in the summer so that pretty much is what my summers are all about.  But, since we already had a birthday challenge I decided to do an Independence Day Themed project.  I just love the 4th of July.  It is the heart of summer for me.
For this project, I made a cereal box canvas. Now, this was not my original idea.  I came across a video on YouTube and thought it was rather interesting.  It gives me another way to use all of those cereal (& other) boxes that I am saving that is driving my husband crazy - LOL.  Click HERE to see the video part 1.  My project is a little different than his, but I loved the canvas idea.
Details:
I used my Gypsy and my Cricut to create & design this project.
Cartridges Used: Independence Day, Stand and Salute, & Birthday Bash
Stamp Set Used:  My Pink Stamper's Freedom Rocks.  Click HERE to see where you can get Robyn's Stamps.  They are all great quality & stamp wonderfully using any type of ink.  You can also click HERE to go to her stamp gallery to see examples of how the stamps can be used.  There is lots of great inspiration there.
Don't forget to return to Robyn's blog to join in on our challenge after you've finished the hop.
Click HERE to hop to the next blogger. - Courtney!
Thanks for looking. Questions & comments are always welcomed. Lori

"V" Victoria

Here is the last one I had to get finished for a little bit.  I still have others to post (just can't do it yet).  So, ya'll will have some more letters to look forward to for a little while.
This letter was made for the little sister of one of the girl's that I made a letter for last year.  Victoria & Julia (you can see her letter HERE) share a room.  So they wanted the letters to be similar.  Victoria is only 2 & just started to take dancing, so we went with that theme.  We also wanted to keep the butterfly & flower thing going.  I did use a different butterfly & made the flower a little different but they are still similar.  After all, we want it to be for Victoria - not just a copy of Julia's letter.
Details:
I used my Gypsy & Cricut to design & create this project.
Cartridges Used:  Twinkle Toes, Accent Essentials, Simply Sweet, & Cupcake Wrappers
I added gems to the flowers & stickles to the stars, flower & butterflies.
Thanks for looking. Questions & comments are always welcomed. Lori

Wednesday, June 8, 2011

A New Baby Letter: "B" Bella

OK, so here is another letter.  I told ya'll I have been very busy.  I still have a couple that will be coming.  One more that needs to be completed & some that I just can't post until they are given.  I can't ruin the surprise, you know!!
This letter was supposed to be a baby shower present.  My friend that requested it, couldn't wait & gave it to the mom-to-be early.  She loved it, BTW.
What i had to go by to make it was:  Monkeys & the colors - pink, brown, & green.
So here it is:
Details:
I used my Gypsy & Cricut to design & create this project.
Calligraphy Collection Cart. for the name.
Paisley Cart. for the monkeys.
Life Is A Beach Cart. for the leaves.
I made "vines" from hemp twine in natural, brown, & green.  I twisted them & knotted them on the ends.  Ran the through the leaves & had the monkeys frolicking in the vines.
This one was so much fun to make!!

Thanks for looking. Questions & comments are always welcomed. Lori

Tuesday, June 7, 2011

Even More Wall Letters

These were made for my friend.  She wanted them as gifts for her daughter's dancing teachers.  She wanted them to match b/c they will be hanging in the dance studio.
 
Thanks for looking. Questions & comments are always welcomed. Lori

Ballet Slippers Glass Etching

I etch these little bowls and use them as candle/candy bowls.  They can also be used for a catch all dish or anything that you wish.  A friend of a friend saw them & asked me to do some with a dancing theme for dance teacher gifts.  I loved how they came out.  The pic does not do them justice.
Thanks for looking. Questions & comments are always welcomed. Lori

Sunday, June 5, 2011

Pink Ballet Slippers

This is another card that a friend requested.  Actually I made 3 of these for her.
I used my Gypsy & Cricut to design & create this card.
The ballet slippers are cut from the Twinkle Toes cart.
The brown layer is embossed using the Cuttlebug & the Divine Swirls Embossing Folder.
Sentiment - My Pink Stamper Stamps:  Sport-tastic
Thanks for looking. Questions & comments are always welcomed. Lori

Gold & White Wedding Bells

I made this wedding card for a friend that requested one.  She needed it to be gold & white.  This is what I came up with.
I cut all the pieces from white card stock.  For the gold pieces, I painted the card stock pieces with metallic gold acrylic paint.  I also edged the back layer with the gold paint.
The wedding bells were cut from the Weddings Cart.
The border edges were cut from the Elegant Edges Cart.
Thanks for looking. Questions & comments are always welcomed. Lori

More Teacher Letters

Here are some more letters for end of the year Teacher Gifts.  My friends have really been keeping me busy!!
 
 
I used my Gypsy and my Cricut to design & create these projects.
Thanks for looking. Questions & comments are always welcomed. Lori

Tuesday, May 17, 2011

Wall Letters & Wreath

These are some of the projects that have been keeping me so busy.
The following letter & wreath are for a new baby.  Colors & theme were brown, sage green, & monkeys.
  

"C" Charli:  She is a princess/diva type (as are most young girls these days).  She likes soccer & music.  He colors were pink & brown.
"C" Cade:  His colors were blue & tan.  He likes camping, video games, music, & soccer.
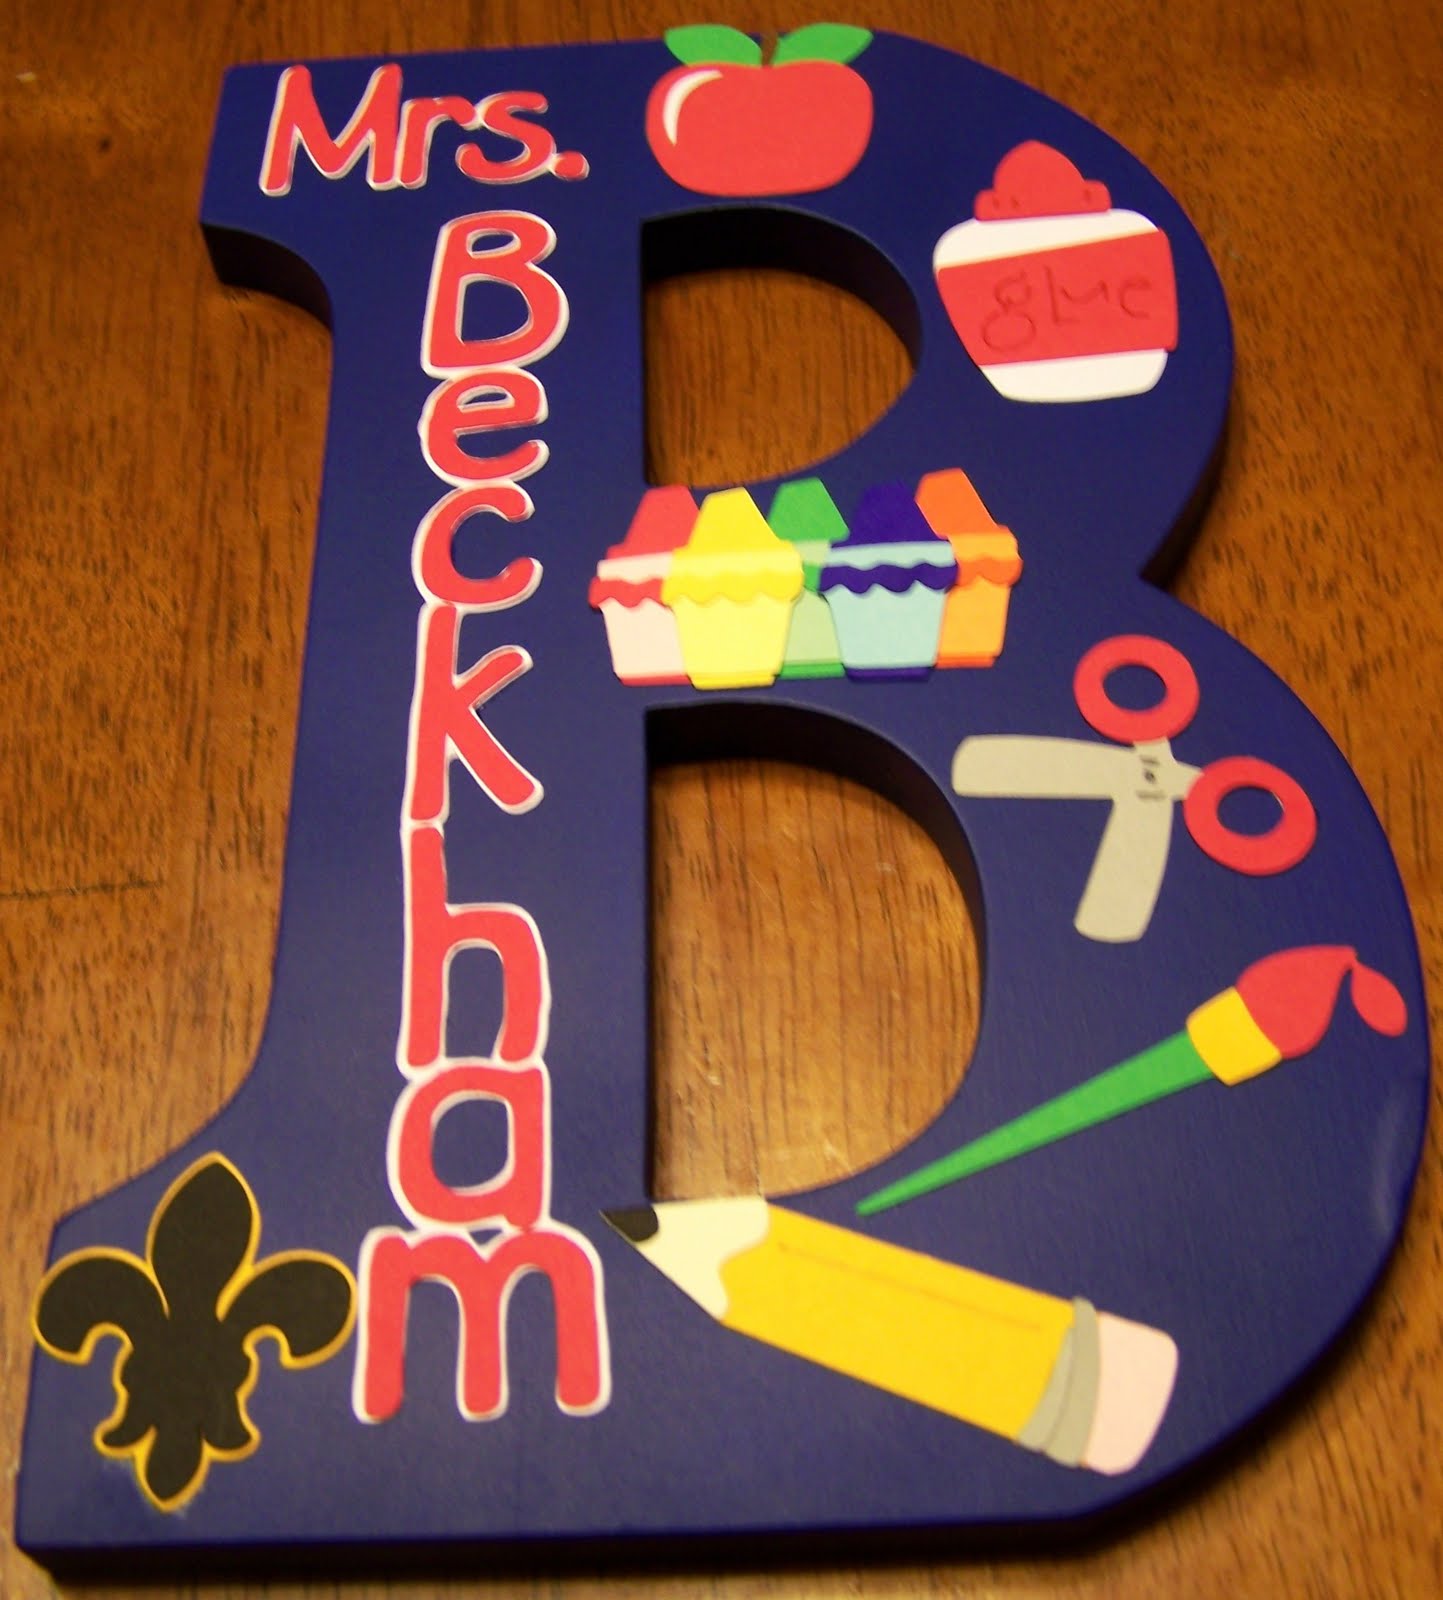
 Teacher letters:  4th grade teacher:
 Kindergarten:
 1st grade teacher:
 2nd grade teacher:
 Newborn Letter:  Room is done in Winnie the Pooh with pale green walls & pale yellow accents.
 College Graduate Letter:
 I used my Gypsy and Cricuts to design & create these projects.

Thanks for looking. Questions & comments are always welcomed. Lori

Cards from the Past Month

Here are some of the cards that have been working on.  All cards were made using my Cricut Expression, Imagine, or E2 and my Gypsy.  They all include My Pink Stamper Stamps also.  I can't say it enough how much I love these stamps.  They are such high quality and such wonderful and inspiring sentiments.  I am still feeling so honored to be a part of such a wonderful design team.  All thanks, of course, to Robyn!!
Please go to the Gallery for her stamps to see some awesome projects.  They will truly inspire you!

Happy Belated Birthday;  My Pink Stamper Fabulous Phrases
 With my deepest sympathy...: Fabulous Phrases
 How tweet it is!:  Tweety Hoo Puns
 Think Pink:  Simply Sweet Occasions
 Happy Happy Birthday:  Everyday Occasions
 thanks so much:  Everyday Occasions
 Happy Graduation:  Happiest Moments
 Part 1:  Front
 Part 2:  Inside
Dream it, be it!:  Encourage Me
Thanks for looking. Questions & comments are always welcomed. Lori

Tuesday, April 19, 2011

My Pink Stamper April Design Team Post

Welcome to our My Pink Stamper April Design Team Posts.  I have to say again how proud I am to be a part of this great & very talented design team.  Robyn's stamps are the best to work with.  They are all so cute & stamp so well.  This month our challenge was to make favors of any kind.  I made these for my nephews we we have our big family Easter celebration.
This was a very simple project, but I love how they turned out.  When making favors I tend to do them fairly simple.  As much as it pains me (LOL), the kids just rip them apart to get to the candy.   I filled some cello bags with candy & made some really cute bag toppers.
Details:
I used my Gypsy & Cricut to design & create this project.
Create A Critter for the rabbit
My Pink Stamper Happiest Moments Set
Thanks for looking. Questions & comments are always welcomed. Lori

Friday, April 8, 2011

My Pinkalicious Blog Hop: Birthday

Welcome to our April Blog Hop.  To hop along with us please go to Robyn's Blog to begin.  if you got here from Julie's Blog then you are in the right place.
Our challenge this month was to make something with a birthday theme.  I seem to make a lot of girl projects.  So I broke out my Boys Will Be Boys cartridge and made a rocket card.  Robyn's stamp from the Fabulous Phrases set made it a birthday card. I just love this stamp set.  The larger stamps are wonderful.  Click HERE to see all of Robyn's wonderful stamps.  I know you will find something that you love.
Details:
I used my Cricut & Gypsy to design & create this card.
Rocket - Boys Will Be Boys Cartridge pg 32, cut @ 4"
Stamp - My Pink Stamper Fabulous Phrases Set

Your next stop in the hop is:  Christi's Blog

Thanks for looking. Questions & comments are always welcomed. Lori

Saturday, February 26, 2011

Stamp Shape Thank You card

This is a Thank You card for the host of the card swap that I was in.  I have not made a shape card in a while.  I had just gotten the Sentimentals Cart & really liked the idea of a stamp shaped card.
 Details:
A2 (4.25 x 5.5) Card
Gypsy to design, size, & weld the card base.  Cricut to create.
Sentimentals Cart. for the base shape & the owl.
Stamp:  My Pink Stamper's Everyday Occasions Stamp Set. (One of Robyn's first stamp sets)
Thanks for looking. Questions & comments are always welcomed. Lori