Followers, Guestbook, & Comments

My followers are being shown in the right column. My Guestbook is at the bottom. Please follow, comment on posts, & sign my guest book. Your comments encourage me to keep sharing my work. I love hearing from you all.

When you leave a comment, I have to moderate it before it will be posted. So if you have a questions or comments, feel free to ask & if necessary note that you don't want your comment posted.
Showing posts with label OA. Show all posts

Friday, January 8, 2010

Slide Up Cupcake Birthday Card

The idea for this card came from the Flower Pot Card that I had made a while back. I just recently got the Sweet Treats Cricut Cart & thought that it would be nice to make a similar card with a cupcake. I really like the way this came out.

A good friend of our's daughter is turning 6 shortly. I thought I would make a special card for her. Happy Birthday Laici!!

This is the card. It does not open up. There is a pic further down showing the message.
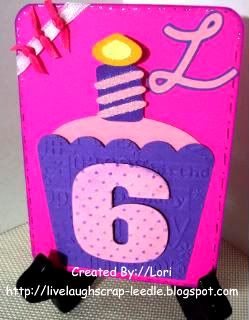

I just cut a rectangle for the base & rounded the corners.

Sweet Treats Cart (cupcake 2) for all of the cupcake parts & the 6
Pop dotted the 6 on top of the wrapper
Opposites Attract Cart for the L
Cuttlebug & Happy Birthday Embossing Folder & Swiss Dots Embossing Folder
Added some ribbon & gel marker stitching

This is the "opened" card and the envelope. Just pull up on the cupcake & it slides out of the wrapper.
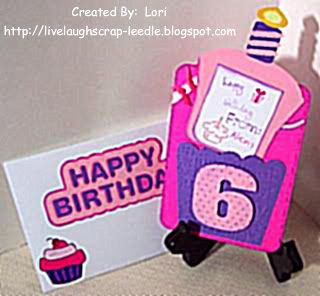

On the slide out:
Inked around the edges of a smaller piece of white cardstock & stamped message (Stampendous - Everything happy Stamp Set)
Tonic Cupcake Punch (can also be used in the Border System to make borders) in the bottom corner
Martha Stewart Course Crystal Glitter on the flame, candle stripes, & punched cupcake

Envelope:
I made the envie using my Crafter's Companion
Hello Kitty Greetings Cart for the Happy Birthday
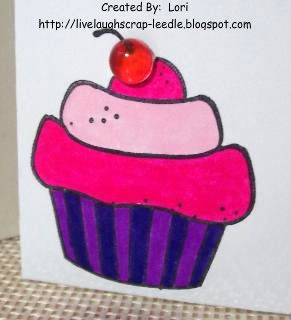
Studio G $1 Cupcake Stamp from Michael's
Colored in the stamp with LePlume II markers
Added a clear skittle on top of the Cherry for a dimensional effect.

Close up of the cupcake on the envie:

Thanks for looking. Questions & comments are always welcomed.
Lori
Monday, November 30, 2009

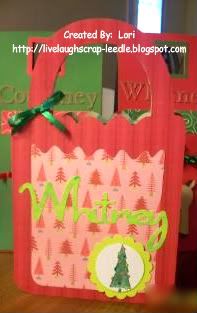
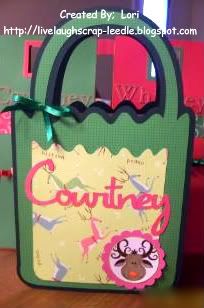
4 Giftbags - Whitney & Courtney

My mom & dad's neighbor asked me to make 2 gift bags for each of his daughters. All he wanted was for them to have a Christmas theme and to have their names on them.
These first 2 were made using Okieladybug's idea. You can check out her video HERE.
Details:
A regular brown paper lunch bag
Plantin Schoolbook Cart for the letters
Paper Doll Dress Up Cart for the reindeer
Cuttlebug & the Divine Swirls Embossing Folder
Misc. Ribbon
2" square punch & 21/2" scallop square punch to make the handles


For these next 2, I used an idea that I found on the Cricut MB from TammaraCarr. You can see her project HERE. thank You Tammara for this wonderful idea. Here is my take on your idea.
Details:
A regular brown paper lunch bag (You have to cut some off the top of the bag so that it does not show over the DC bag cut.)
Doodlecharms Cart for the giftbag and layer (When you cut one for the backside - flip the image so that they match up evenly.)
Opposites Attract Cart for the names
Mini Monograms Cart for the circle & scallop circle
Studio G $1 Stamps colored in with markers
Misc. ribbon (I made the bows using my Cricut Cut Bow Easy.)
Thanks for looking. Questions & comments are always welcomed.
Lori
Friday, November 20, 2009

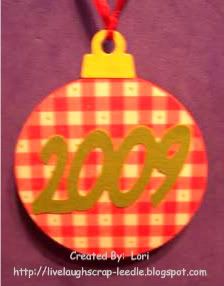
Christmas Party Favors - Part 5: Ornaments

Ok so this is the 5th element of my daughter's party favors.

Details:
Joys of the Season cart for the ornament.
Mini Monograms for the scallop circle.
Opposites Attract & CDS for the 2009.
Mod Podge
Diamond Dust - *See note at end of post!
Ink pads
Adhesive you choice.
For each ornament & cut it & the hanger piece out twice. Once regular & the other flipped. I adhered the 2 wrong sides together.
I inked around all edges & adhered the scallop circle to the front side of the ornament. I adhered the 2009 the the reverse side of the ornament.

Santa:
He was on some printed cardstock. I cut him out with my Tim Holtz scissors. I have to tell you, I Love These Scissors!!!!!!
Just on the white parts of Santa - I painted on some Mod Podge on then covered with the Diamond Dust. Then just on the Pom Pom & Santa's beard I added another layer of Mod Podge & Diamond Dust. Let dry. You can tell when it is getting dry b/c it turns more clear than white.

Now after all of that is dry:
I did this b/c I was giving this to kids & the experience I had with the Diamond Dust. I painted a coat of GLOSSY Mod Podge over the entire Santa, coating the Diamond Dust very well.
Reverse Side:
*Note: Just clean up this very well before moving about you house. I stepped on a piece of it & it was like having a little shard of glass in my foot. It came out easily, but very hard to see. Also didn't feel too good - LOL. This is the reason for adding a top coat of Mod Podge to keep any little pieces from falling off. And it gave a hard coat finish.

Thanks for looking. Questions & comments are always welcomed.
Lori
Thursday, July 2, 2009

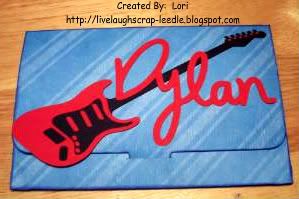
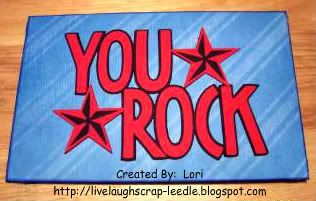
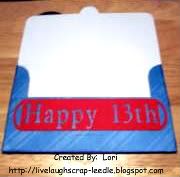
Dylan's 13 YO Card/Envie

This card/Envie was for my son's best friend. I was having a hard time coming up with an idea of what to do. Masculine cards are hard enough, but for a 13 YO boy - geez. I was stressing. I want to thank VickiPowell1 from the Cricut MB again. She gave me some wonderful ideas & this is what I came up with.

I cut the All in One Envie from the Tags, Bags, Boxes, & More Cart. Decorated it with Indie Art Guitar & Stars. The font used was from Opposites Attract. The Tag inside was from Plantin Schoolbook.
Front:

Back:

Inside:
Thanks for looking. Questions & comments are always welcomed.
Lori
A Proud member of The Lime Light. Click on over to see what we are doing.

Thursday, April 16, 2009

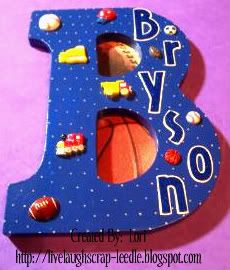
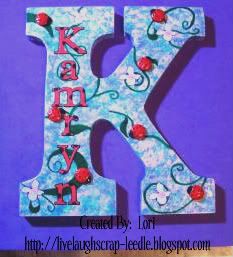
Wall Letters: B & K

I made these for my uncle & his wife. They wanted them for her grandchildren.

Bryson: I was scared of this one because I had never done one for a boy before. They told me that his room was decorated with a sports them and the colors were mostly blue & tan.
I painted the B blue, then painted tan dots all over it. I thought about stripes, but then thought that might be too busy. I had some carstock embellishments (football & basketball) that someone had sent me, so I put them behind the holes in the B. I cut out the letters using Opposites Attract in shadow (tan) & regular (blue) . I heat embossed blue tinsel embossing powder over the blue letters. I them put on some sports buttons and I had some truck, tractor, & train buttons so I added them too. I sealed it all with Mod Podge & Krylon Preserve It. After it was all done - it was the easier one I have done yet.


Kamryn: I stressed even harder over this one. All they told me was her room is decorated in ladybugs. When I asked a color scheme they just said red & black. I could not do the letter re or black (& I definitely didn't want to do it solid black), b/c the ladybugs would not show up. So, when I had done the M for my niece HERE, my son said that it looked like flowers. So I thought, ladybugs live in gardens & this K was born.
I painted the base of the K in lavender. I then sponge painted light green, yellow, pink, & light blue over the lavender. I started using some flourish stitching stencils as a guideline (I can't sew or paint) to make some dark green flourishes all over it. It ended up being easier to just free hand them. So what I painted looks like vines growing all over the K. I cut the letters out in shadow (black) & regular (red) from Plantin Schoolbook. I also cut some very small circles out of black. I layered the letters & cut some of the circles & layered them onto the red letters. They look like ladybug letters. I used the 50 States Cart. for the flowers (Missouri - I think). I cut them in light purple with pink centers & placed them randomly on the vines. I also placed some ladybug buttons randomly & facing all different directions on the vines. I sealed all of the paper cuts with Mod Podge before adhering them to the K. I them sealed the entire letter with Krylon Preserve It.
I am most proud of this letter b/c I actually painted it, I love my ladybug letters, & most of all I figured out how to use a black & red theme for a little girl's room.
Thanks for looking. Questions & comments always welcomed.
Lori
A Proud member of The Lime Light. Click on over to see what we are doing.

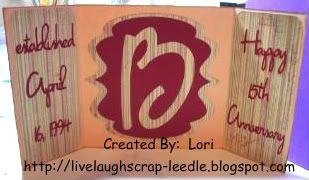
Happy Anniversary Joann & Ernie

Today is my 15th wedding anniversary. But, no this card is not for my husband. I made this card for some very good friends. They were married on the same day as my husband & I. We didn't know them when we got married. Our sons started going to school together in Kindergarten (now in 7th grade). That is how we met. We knew each other for a couple of years before we realized that we shared the same exact anniversary. We will all be celebrating this milestone anniversary this year together. So, I made this card for them.
HAPPY 15TH ANNIVERSARY!! I hope the next 15 & beyond will be as good or better as the past 15.
Darren & I love you both.
Details:
Misc. solid cardstock
K & Company Printed Cardstock
Colorbox Pigment Ink (Bronze) for the edges
Cricut Cartridges used: Opposites Attract, George & Basic Shapes, & Home Accents
I also used Cricut Design Studio for sizing & hiding some elements.
I used my Ultimate Crafter's Companion for sizing & scoring the card & envelope (not pictured).
Thanks for looking. Questions and comments are always welcomed.
Lori
A Proud member of The Lime Light. Click on over to see what we are doing.

Friday, February 27, 2009

My First Wordbook: I Finally Did It!!!

I want to thank everyone & anyone that has ever posted pictures and/or directions on how to make a wordbook. I probably have looked at it & got inspiration to make this.
I am so glad I waited to get my ATG and BIA to do this. I don't think it would have been as easy or as fun to do. I made this with my daughter's name. It was a test run piece and there are some flaws, but that's why I made this one for us. Overall I am very proud of it. I still have to add pics, but it is fully decorated & put together.
Details:
I used CDS with George and Basic Shapes & Opposites Attract (shadow for the letters) to make the pages. I used a cereal box for one page and some cardboard from a Crayola Stamp Set box as chipboard. I covered front of each page with a dark pink cardstock and the back of each page with a light pink cardstock. I then sanded down any rough edges and inked around the edges on both sides of each page.
I punched the holes & bound the book using my new BIA and 3/4' o-wires.
I cut the letters out again not using the shadow feature and layered them onto the shadow letters of the pages.
For decorations I used:
Misc. cardstock, skittles (plastic Decorative Accents from M's), Fastenator & Staples, Ribbon, Cuttlebug Embossing Folders & Sizzix Embossing Plates, Border Punches - Leave-it-to-Weaver, Fleur-di-lis, & Threading Water, Misc. Brads, Prima Flowers, Misc. Buttons, Sanding Block for embossing, & ColorBox Pigment Inks for details & embossed papers.
Thanks for looking. Questions and comments are alwyas welcomed.
Lori
A Proud member of The Lime Light. Click on over to see what we are doing.

Monday, October 27, 2008

More Halloween Party Treats

You might have seen the Halloween Treats that I made for my daughter's Halloween Party. If not, click here to see them.
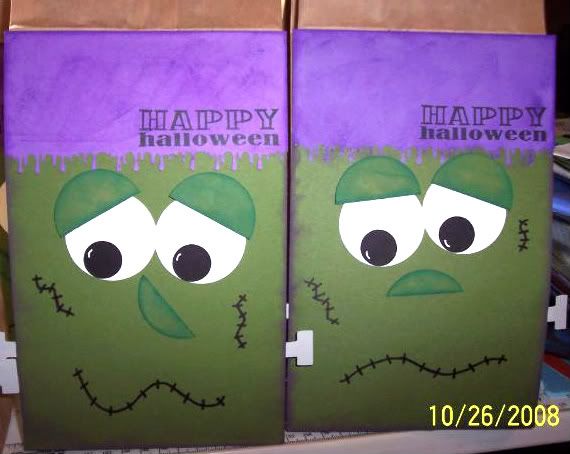
Well one of the room moms called me to ask if I could bring favors for the party. So this is what I made. I adapted this from Dawn's Frankie Card.

I just made flat faces & adhered them to a paper lunch bag & filled with candy. For the hair, instead of cutting out the jagged edge, I used the MS Drippy Goo Punch. I thought that added a little different touch. I used CDS to cut all of the circles & welded the white parts of the eyes together. I cut the circles at: white 1 3/4", green 1 3/4", & black 3/4". I used George & Basic Shapes for the circles & Opposites Attract for the bolts in his neck (T). I used my white Gelly Pen for the accents on the eyes. I inked over the hair & around the face with purple ink & with green ink around the eyelids & noses. I did the mouths & scars freehand. I also mage all of the face look a little different. The stamp is from the dollar bin at Target. Thanks for looking. Comments & questions are always welcomed.

A proud member of The Lime Light. Click on over to see what we are doing.

Monday, October 20, 2008

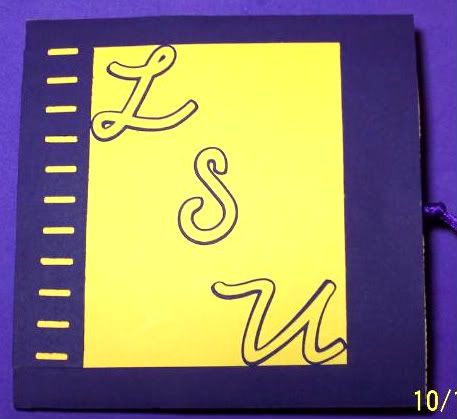
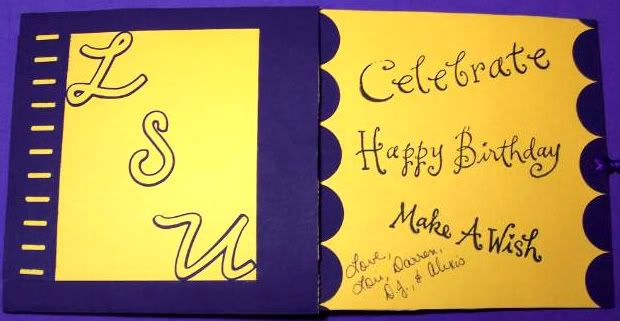
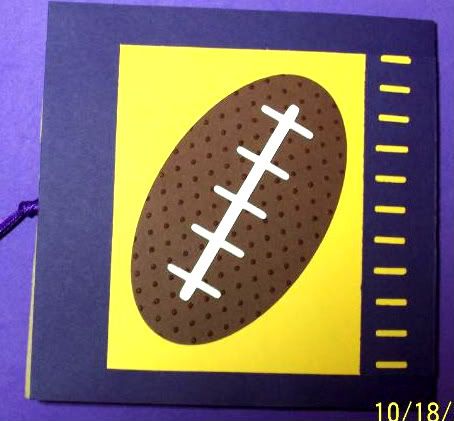
Lunch Bag "LSU Birthday Card"


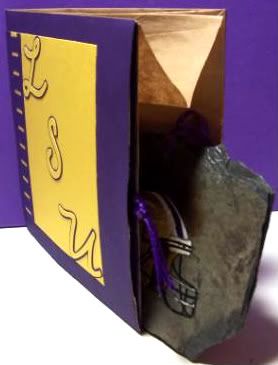
This is the first luch bag card that I made. I got the idea from thriftygranny on the Cricut Message Board. Click here for her blog. She gives instructions here too (post #20).


This card was for a very good friend of ours. He is a very big LSU fan, so I knew this would be perfect. Happy Birthday Sean!!!!


This is the front of the card. I used OA for the letters & LITW punch.This is the front & pull-out . I used george to cut circles, then cut them in half for the border of the pull-out. I can't remember the name of this stamp set.
This is the back of the crad. I used the LITW punch & George with CDS to make the football. I also embossed the football with the CB using the Swiss Dots folder. I used a brown marker to color the dots.

Thanks for looking. Questions & comments are always welcomed.
Lori
A proud member of The Lime Light Design Team

Monday, October 13, 2008

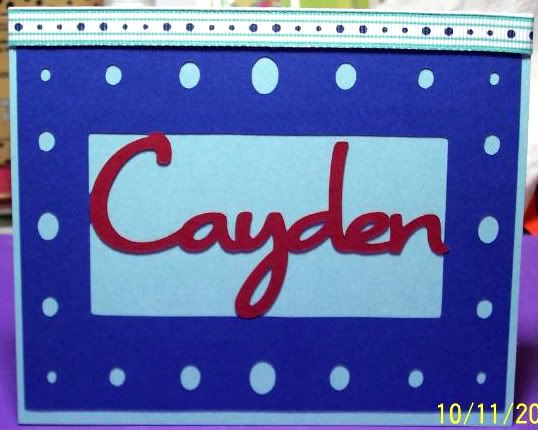
Kids' Birthday Cards

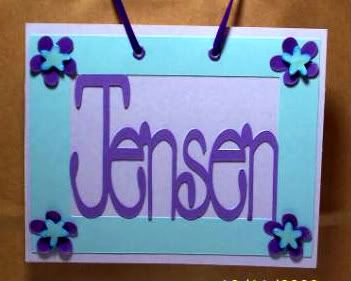
I made this card for my niece's 7th Birthday. I made a flat card & put her birthday message on the back. I made it into a doorhanger & hung it on the handle of her gift bag. She absolutely loved it & so did the rest of the girls at the party.
Details:
The name & frame were cut out as one piece. Then I cut the name in purple & layered it.
Cricut Design Studio to size & weld the name & the frame
Tear Drop for the name
Stetch Your Imagination for the frame - blue flowers were cut from the corners of the frame
George & Basic Shapes for the purple flowers
Ultra Thick Embossing Enamel with a heat gun was used on the flowers then layered
Crop-A-Dile for setting the Making Memories Eyelets
Misc. Ribbon was used for the hanger

This card was made for the son of some very good friend's. It was for his 5th birthday.

Details:

The name & frame again was ust all in one piece. Then I cut the name in red & layered it.

Cricut Design Studio to size & weld the name & frame

Opposites Attract for the name

Stretch Your Imagination for the frame

Misc. Ribbon

Thanks for looking. Comments & questions always welcomed.

Lori

Proud member of The Lime Light design team.

Friday, September 26, 2008

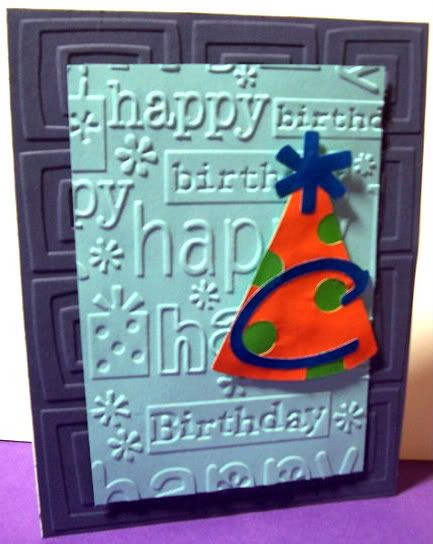
Birthday Card - Collin

This card is for the son of some very good friends.  Happy Birthday Collin.
Card Details:
Misc. Cardstock from my stash
Misc. Colored Paper Scraps from dollar bin at Target
Cuttlebug Folders:  Happy Birthday & Traffic Jam
Birthday Hat: Doodlecharms
C:  Opposites Attract
Thanks for looking.  Comments & questions always welcomed.
Lori

Monday, August 25, 2008

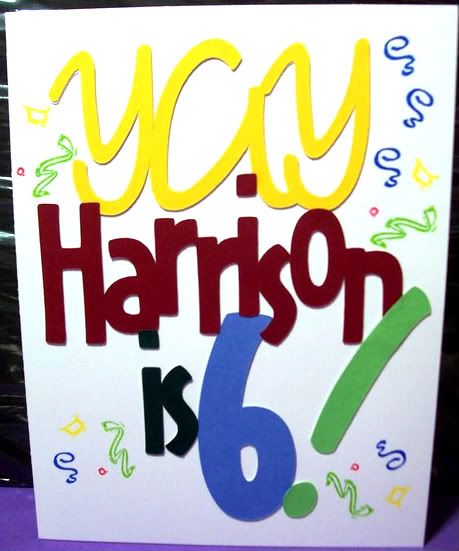
6 Year Old B-Day Card

This is the card that I made for my mom to give to my nephew.
Details:
CDS - I welded all the words together in one box & sized it to fit on the card. I cut it out of white cardstock. I made different pages for each word & made sure that it fit on the entire base (keeping the preview on page). The I cut each word out of different colored cardstock & layered it on the base.
OA for all of the font.
See-D's stamps for the confetti.
Thanks for looking. Comments & questions welcomed.

Monday, August 18, 2008

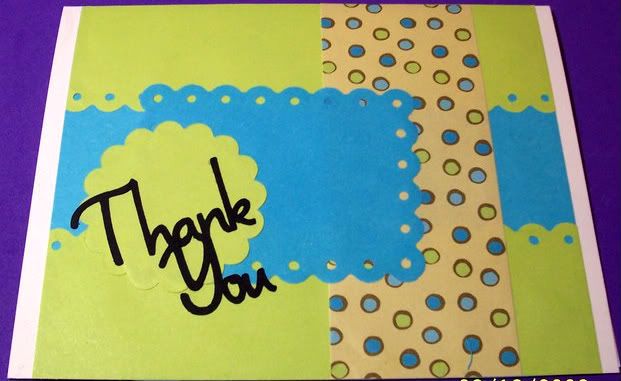
Thank You Card

I made this card for the couple that is charge of the Alter Servers of our Church. They deal with so much and have grown our Alter Server Community so much since they have taken it over.
It is also my entry for the weekly challenge for Papertake Weekly http://papertakeweekly.blogspot.com/
Details:
CDS, MM, OA, Threading Waters Punch
Thanks for looking. Questions & comments welcomed.

Sunday, August 17, 2008

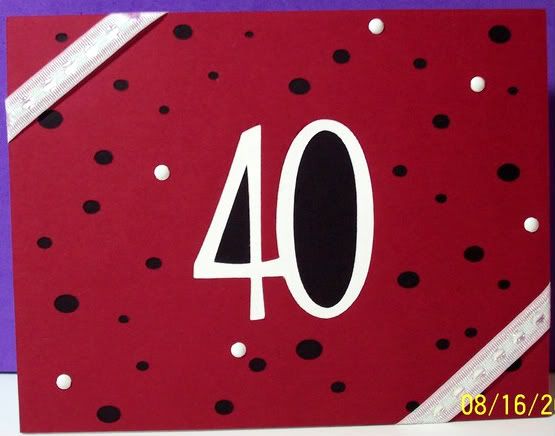
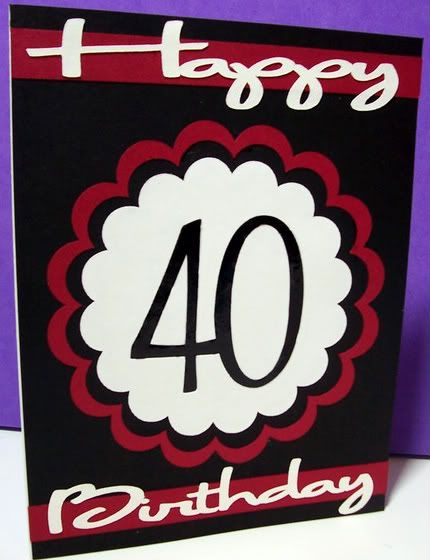
40th Birthday Cards

Well, I found out this week that we will have two 40th Surprise Birthday parties to attend. Neither of them know about my blog yer, so this won't blow it - LOL.
I also sent this in for Daily Scrapper's http://abusyplace.blogspot.com/ weekend challenge #3
This first one is for my cousin:
Details:
CDS, Ribbon from M's, frame is from SYI, 40 is from G & BS, & white mini brads
This one is for my sister in law:
Details:
CDS, Scallop circles 5" & 4 1/2" (placed inside the 5' to make a frame) from MM, 40 from G & BS (placed inside 4" circle)
Happy & Birthday from OA each word cut at 4 1/2" wide x 1" height.
Liquid Embossing inside the 40.
Thanks for looking. Questions & comments welcomed.

Saturday, August 16, 2008

Thank You (Shoe)

I made this card for a very good friend. She gave my daughter a gift certificate to get some school shoes. I entered this card in a challenge on DailyScrapper's blog http://abusyplace.blogspot.com/. The challange was to use any Cricut cut, colors were to be black & white, & you had to use ribbon in some way. you might want to check it out. She has 2 more challenges this weekend.
Details:
I used CDS, PDDU, OA, & SYI. In CDS, I skooched one shoe off of the mat so that it would only cut one. The ribbon is from Michael's. I used a white Gelly Roll pen for the scored marks on the shoe. I also used the CAD to punch the holes to lace the ribbon. I also used Liquid Embossing on the "Thank You", it just doesn't show well in the pic.
Thanks for looking. Questions & comments are welcomed.

Thursday, August 14, 2008

Welcome Back to School

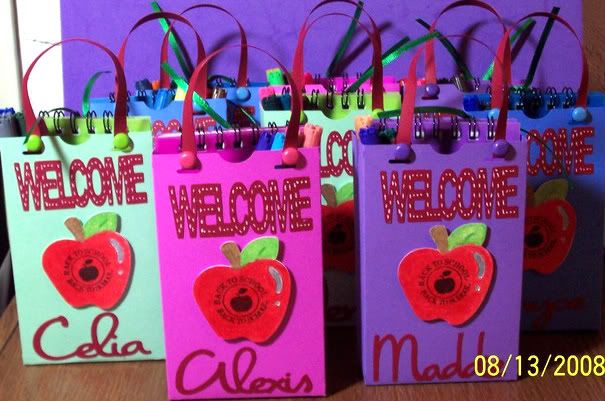
I have been trying to get this finished for my daughter's first day of school. I made it, just barely! She is starting a new school this year, so I wanted to makes some welcome treats for her classmates. There are only 9 children in her class including her, so I thought, "Piece of Cake, I can knock that out in no time." Well, when I started to make them, it was harder to decide what I wanted to do than it was to actually make them. But, I can't ever seem to get a project "finished". I am one that, when I think it is done, I find more that I want to add. I need to learn, when enough is enough.

Details: CDS, TBBM, DC, OA, MM, Studio G Stamp, See-D's Stamps, MCPT, Glitter Glue, Pop Dots

All 9 Bags:

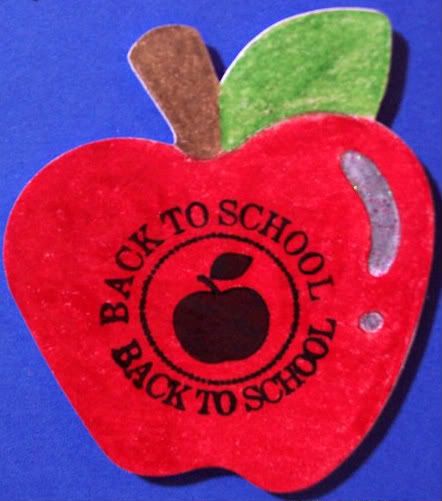
Close up of apple: MCPT & Studio G Clear Stamp (Sept. Set)
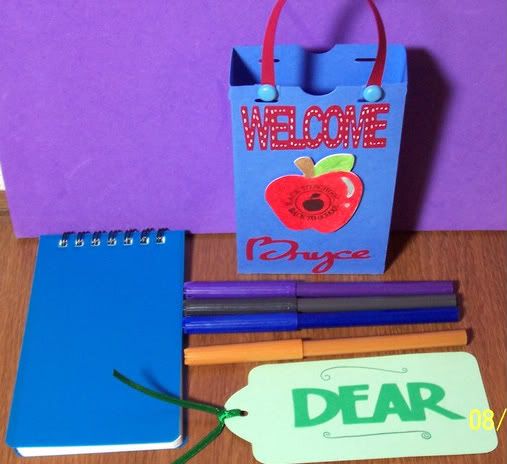
This is what each child received: Decorated Lunchbag from TBBM, Decorated Bookmark Tag from TBBM, Notepad, & 4 Markers

Thanks for looking. Questions & comments are welcomed.